You interactively divide a parcel into two unequal closed polylines.
This exercise uses the map you created and modified in Exercise 2: Find the parcel to split.
To divide one parcel into two new parcels
- In the Data Table, click the leftmost column for one parcel on Antigua Drive.
Make a note of the address, so you can compare your results later.
When you click the leftmost column, you select that entry in the Data Table and automatically zoom to that parcel in your map.
- Hide the Data Table so you can see the parcel more easily. On the Data Table title bar, click
 (Auto-Hide) .
 -
Click
 . Find
- When notified that the feature has been checked out, click Close.
- At the first prompt, “Create new or multipart,” click New.
New splits this parcel in two pieces. You can create more pieces by selecting Multipart.
Note:You can specify the default values for two of these prompts in the Feature Editing Options dialog box. You can turn off the prompts and always use the default values. In that case, you see only the third prompt and not the first two.
- At the second prompt, “Generate new feature ID or use existing,” click New.
This option auto-generates a unique identifier for the new parcel.
- At the third prompt, “Would you like to draw or select the line for the split,” click Draw.
- Draw the line for the parcel split and press Enter.
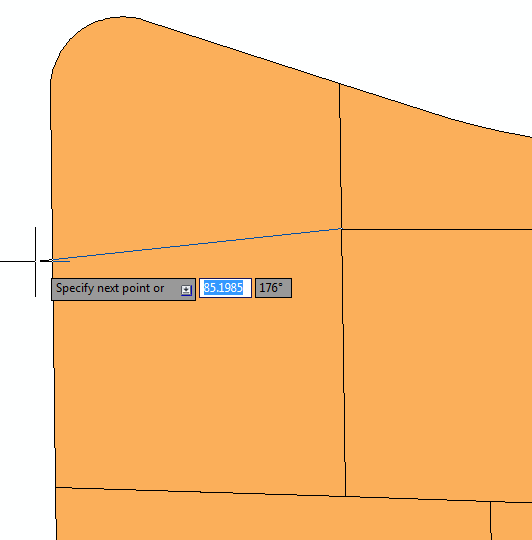
When you specify the last point and press Enter, the parcel is split.
To continue this tutorial, go to Exercise 4: Examine the results.