The Display Manager tab of the Task pane controls the styling and display of items in your map. The layers in the Display Manager are different from AutoCAD layers, but they allow you to do similar things. For example, you can hide and show Display Manager layers, even if those layers contain raster images rather than drawing objects.
In this lesson, you add a raster image to a Display Manager layer. You rename and hide the raster image layer.
To add an image to a new Display Manager layer
- If the CITY.dwg map is not still open, reopen it.
- On the Display Manager tab of the Task pane, click
 Raster Image.
- In the Select Images dialog box, select the check box next to REDDING_DRG.
- Click OK.
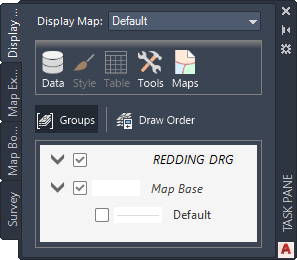
In the Display Manager, REDDING_DRG is now listed as a layer.
- In the Display Manager, right-click the REDDING_DRG layer and click Rename.
- Enter REDDING_RASTER.
- Click
 Save.
Save.
- In the Display Manager, clear the check box for the REDDING_RASTER layer.

The raster image is no longer displayed in the drawing.
Where you are now
You adjusted the image appearance in your map without changing the image file itself. You added the image to a layer in Display Manager, where you can hide and show it easily.
To continue this tutorial, go to Lesson 6: Share Your Map with Others.