When you first create the viewport, it displays the entire map. You can zoom in to display a detail for this map tile instead.
Note: This exercise uses the map you modified in the
previous exercise.
- The layout tab with the new viewport you created in the previous exercise should still be displayed. If not, reopen it.
- Double-click inside the new viewport.
- Use any
AutoCAD Map 3D toolset zoom and pan commands to display the area of interest for this map tile.
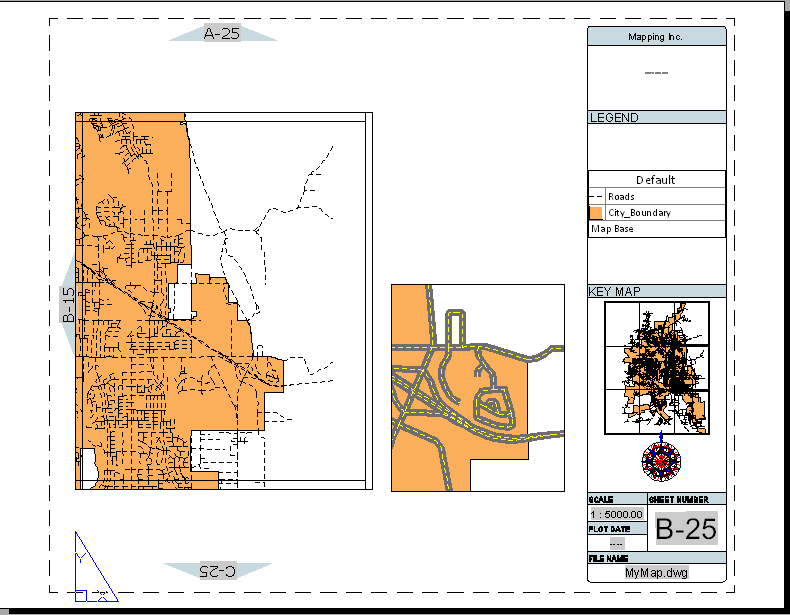
In this example, the roads were styled to display a composite style when the map is zoomed in. To learn how to do this, see the “Building A Map” tutorial, Lesson 3: Change the Display by Zoom Level.
Note: In a real-world example, your map might have many layers, and the inset might be too crowded with data to be helpful. You can use the AutoCAD LAYFRZ command to delete undesired layers and simplify the inset. See the AutoCAD Help for more details.
Where you are now
You created an inset on one map tile and used it to display a close-up view of a detail of the map.
To continue this tutorial, go to Lesson 5: Publish The Map Book.