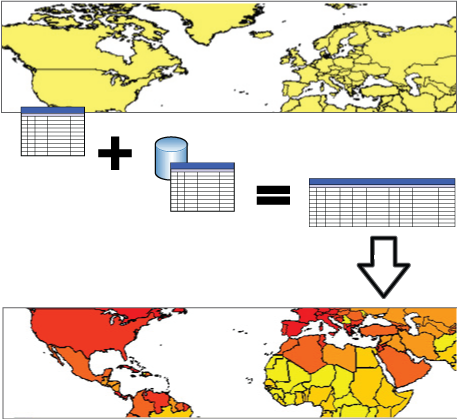
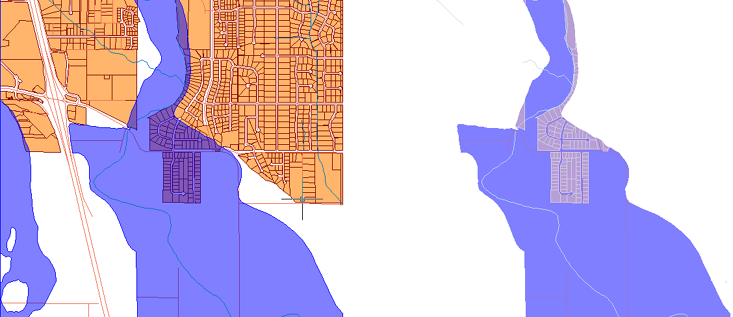
 Use joins to add extra data to GIS features in your map. For example, join income data to a parcel layer to add that information to those features. You can join data from the Internet, other organizations you work with, or GIS data repositories.

Joining one database table to another gives you more options for data analysis.

You can choose to keep only the features that exist in the original table and in the table you are joining.
The secondary table can be an actual table, such as a named range in an Excel spreadsheet, or the tabular data contained in a feature source, such as an Oracle database or an SDF file.
One-to-One Joins
The most common type of join is a one-to-one join, in which one feature is matched to one secondary record, and any additional secondary records are ignored. For example, if you are joining a table of income data to a layer representing parcels, you may have more than one income value for a particular property (if there are multiple residences on that parcel, for instance, or multiple earners in a residence). In a one-to-one join, the first income value found for a parcel is matched to that parcel, and any other income information is ignored.
One-to-Many Joins
You can also create a one-to-many join. In this case, when there are multiple secondary records for a single feature, additional features are generated to represent the extra values. Using the same example as above, a parcel that matches multiple income values will result in multiple Data Table entries for that parcel, each with a separate income value (even though there is still only one actual feature). If you style the parcel layer based on income values, only one is visible in your display map. You can still edit the feature in your map (for example, to resize it). The real feature in your data will be updated.
Join Keys
To be joined, the primary and secondary tables must contain matching fields with common values. These matching fields are the join keys.
For example, when joining a data table containing employment rates to a layer representing counties, the join key might be County_Name, if that field is common to both tables.
A join key does not need to have the same name in both data sources, but it must have the same data type (numeric, string, Boolean, and so on). For example, you can match the Parcel_ID field in one table to the Lot_Number field in the second table, so long as Parcel_ID and Lot_Number use the same data type.
Advanced Joining
You can join multiple secondary tables to a feature layer There are several ways to do this.
You can join a new table to the joined secondary table to create a “chain” of joins. For example, you can begin by joining income information to a layer of parcel features, using the Parcel_ID as the common join key. Then you can add a join to a table of employment data, using Job_Title as a common join key between the income table and the employment table. Even though the parcel feature does not contain a property for Job_Title, you can style the parcels by job type after you complete both joins.
You can join multiple tables to a single feature using the same join key. For example, you can join a table of traffic information to a roads layer, using the Road_Name field as the join key. You can then join a second table of maintenance schedules to the roads layer, using the same join key.
You can also join multiple tables to a single feature using different join keys. For example, you can join population information to a layer representing counties, using the County_Name field as the join key. Then you can join flood-zone data to the same layer using Elevation as the join key.
In all cases, you can use all of the joined data when styling or theming the feature layer.