To create an editable motion trail
- Select the animated object you want to preview.
- Do one of the following:
- To create motion trail with default options, select Visualize > Create Editable Motion Trail.
- To set motion trail options and preferences, such as key size and frame number display, select Visualize > Create Editable Motion Trail >
 to open the
Motion Trail Options window.
to open the
Motion Trail Options window.
Click Create Motion Trail once you have the options you want.
- You can also customize the appearance of the Motion Trail, for example to have a different color to differentiate animation before and after the current frame in the Channel Box or Attribute Editor. See Edit motion trail properties.
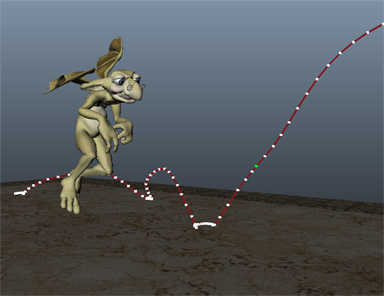
Depending on the display options you have set, the motion trail displays alongside your animated object. By default, the motion trail displays white markers to represent keys along a red motion trail.
Note: The motion trail displays keys for the object’s Translate X, Translate Y and Translate Z curves only. If you have added the object's translation attributes to an animation layer, only keys on the active layer display and are editable on the motion trail.
Hide or Delete a motion trail
To delete a motion trail
Select the motion trail in the Outliner (it will be named something like motionTrail1Handle) and press Delete.
To hide a motion trail
Select the motion trail in the Outliner (it will be named something like motionTrail1Handle) and press Ctrl + H. To show it again, select it in the Outliner and press Shift + H.