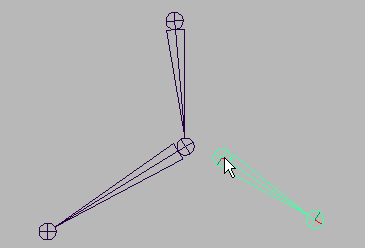
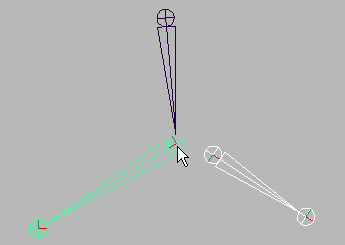
To connect joint chains by combining joints
- Click the parent of the joint chain you want to connect to another joint chain.

- In another joint chain or skeleton,
 + click on the joint that will replace the previously selected joint and become its joint chain’s parent.
Note: The joint that you select can not be a root joint.
- In the
Rigging menu set (press F3), select
Skeleton > Connect Joint >
 .
.
The Connect Joint Options window appears.
- Turn on
Connect Joint and click
Connect to merge the selected joints.
Connect Joint connects joint chains by combining the two selected joints; where the first joint selected is combined with and replaced by the second joint.

If you connected a joint to the skeleton of a bound character, the character’s bind pose automatically adjusts.
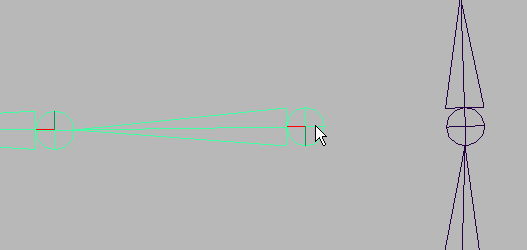
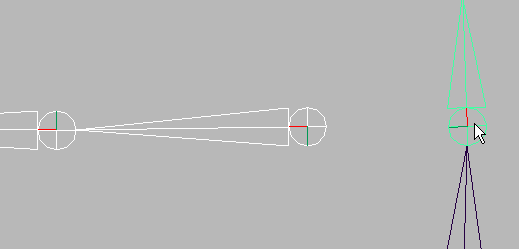
To connect joint chains by connecting selected joints with a bone
- Click the parent of the joint chain you want to connect to another joint chain.

- In another joint chain,
 + click on the joint that will be the previously selected joint chain’s parent.
Note: The joint that you select can not be a root joint.
- In the
Rigging menu set (press F3), select
Skeleton > Connect Joint >
 .
.
The Connect Joint Options window appears.
- Turn on
Parent Joint and click
Connect.
Parent Joint connects joint chains by creating a new bone between two selected joints; where the first selected joint is the child joint and the second joint is its parent.

If you connected a joint to the skeleton of a bound character, the character’s bind pose automatically adjusts.