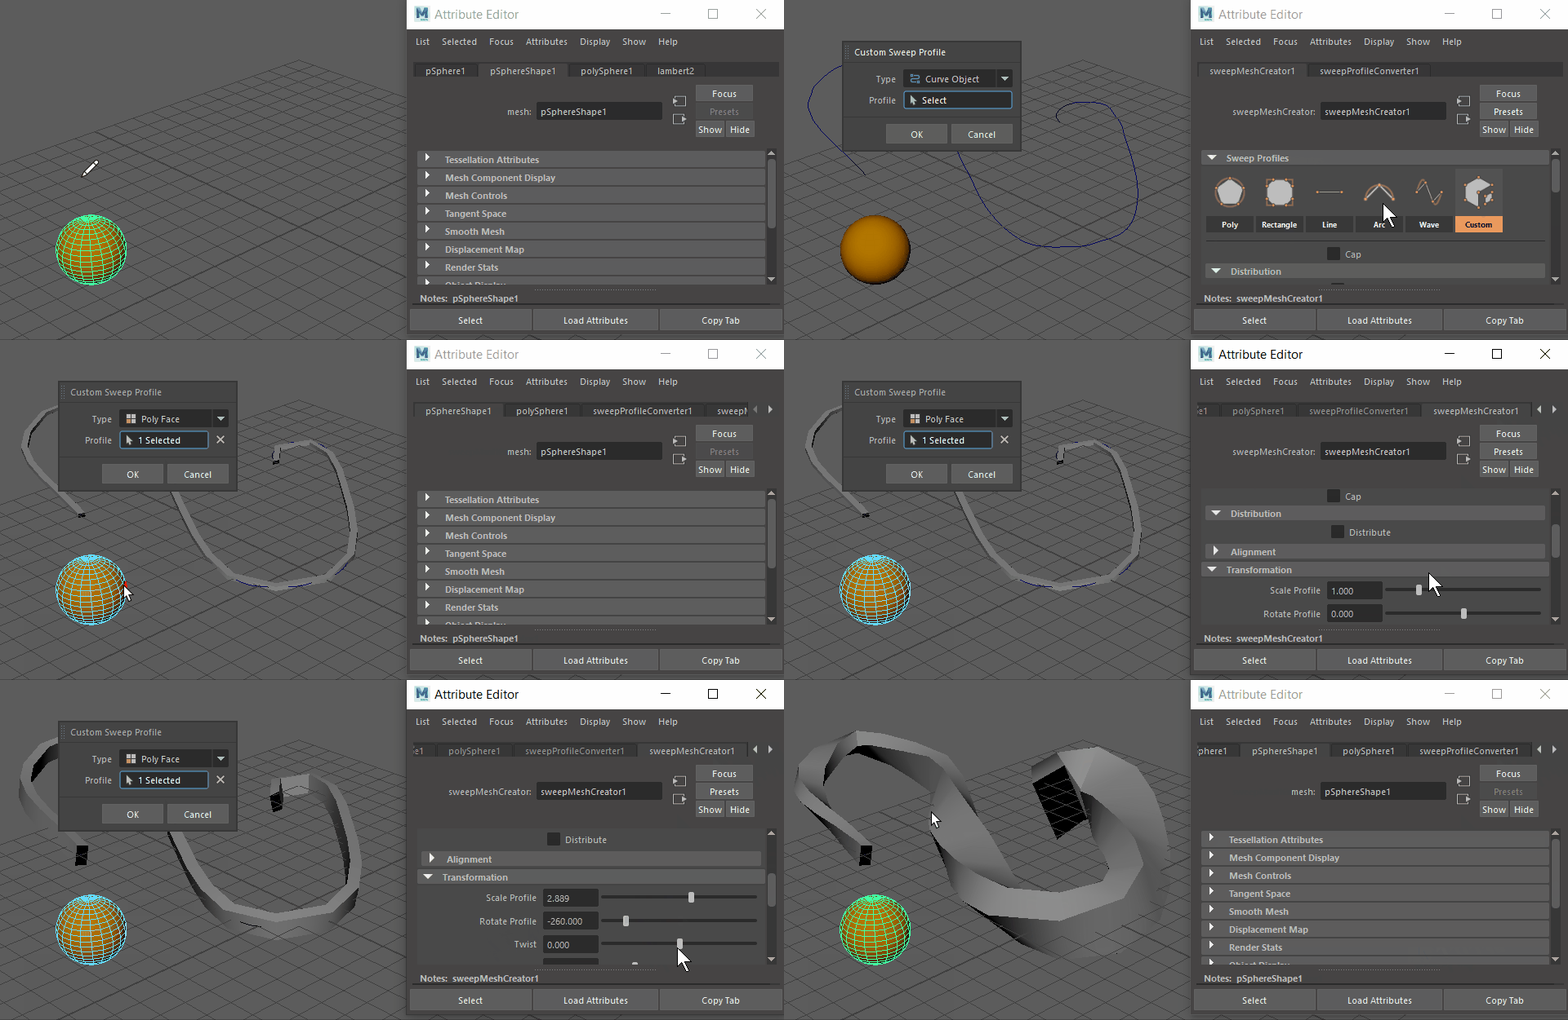

You can create meshes that use your own profile, rather than the default profiles in the Create a mesh from a curve with Sweep Mesh, but the procedure is slightly different.
For a sample custom Sweep Mesh workflow, see Sweep Mesh example workflow: Frame.
To create a custom mesh using Sweep Mesh
- Create a sphere. ()
- Create a curve path.
- With the curve still selected, select
Sweep Mesh
 from the Poly Modeling shelf or
from the menu bar.
- In the
Attribute Editor
sweepMeshCreator1 tab, select
Custom
 from the
Sweep Profiles. The
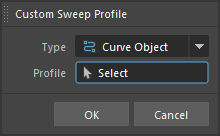
Custom Sweep Profile dialog appears.

- In the
Custom Sweep Profile dialog, set
Type to
Poly Face and select a face on the sphere. That face sweeps along the curve.
Tweak the settings in the Sweep Mesh Options.
- Click
OK to set the selection as the custom profile.
Tip: Flat or planar shapes work best; volumetric shapes like a sphere or a torus will not work as a Poly Object custom profile. A curve works at any orientation as long as it is generally flat.
Tip: To create custom meshes from multiple curves, group-select the curves first and
, then choose
One node for each curve from the
Sweep Mesh Options window that appears. See the steps for multiple curves in
Create a mesh from a curve with Sweep Mesh.
