Loading Plug-ins Into Maya
If you set the MAYA_PLUG_IN_PATH in your Maya.env file as described in Setting up your build environment, plug-ins in the top-level of that directory will be loaded into Maya automatically. However, plug-ins that are not in that directory's top-level will need to be loaded manually.
To load a plug-in into Maya,
Open the Plug-in Manager. Click on Windows > Settings/Preferences > Plug-in Manager to open the Plug-in Manager.

Click on Browse in the Plug-in Manager.

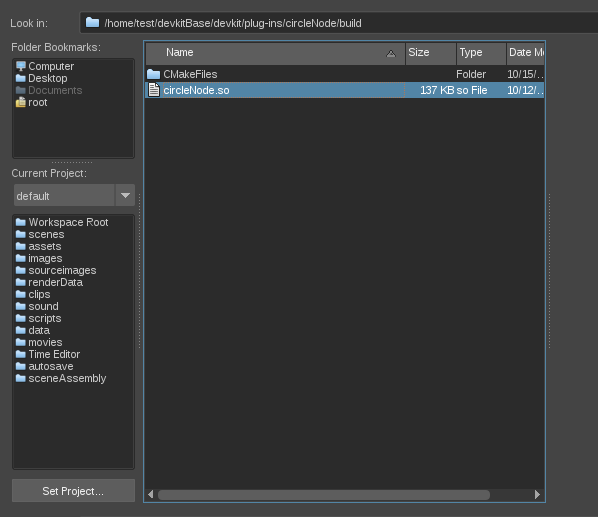
Navigate to the location of the plug-in and double-click on it.
On Windows, samples are built to the
build\Debug\directory under the sample name. Windows plug-ins have themllsuffix. For example, to load the Windows circleNode plug-in, navigate tocircleNode\build\Debug\and selectcircleNode.mll.
On Linux, samples are built to the
builddirectory under the sample name. Linux plug-ins have thesosuffix. For example, to load the Linux circleNode plug-in, navigatecircleNode/build/and selectcircleNode.so.
On macOS, samples are built to
build/Debug/if they were built with XCode. Otherwise, the sample plug-in will be located in the top level of thebuilddirectory. macOS plug-ins have thebundlesuffix. For example, to load the macOS circleNode plug-in built with Xcode, navigate tocircleNode/build/Debug/and selectcircleNode.bundle.
Plug-ins added manually will not be loaded into Maya automatically. They need to be reloaded into Maya every time Maya restarts.
If you want your plug-in to be loaded automatically, select its Auto load option.

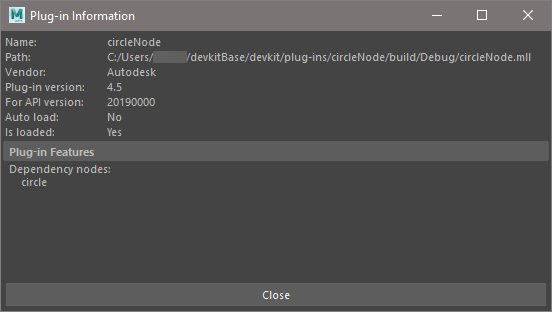
To find out how to use the plug-in, click on the plug-in's i icon in Plug-in Manager.

This will bring up the plug-in's information, including whether it is a dependency graph node or a command, and for which version of the API it was built.
Important:Plug-ins need to be rebuilt for each new version of Maya and its API.
