Once you have imported some facial motion capture data and added an Actor Face to the scene, you can set up the motion data to drive the Actor face.
To connect an Actor Face to motion capture data:
- Drag a null into the scene and set it up as the Reference object for the face.
- Create a facial Marker set.
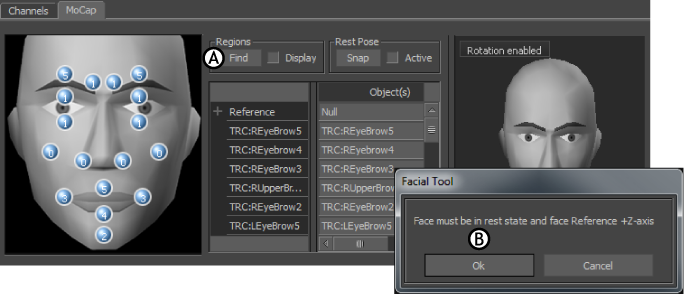
- In the Regions area of the MoCap pane, click the Find button, then click Ok in the dialog box that appears reminding you that the face must be in the rest pose and facing the Z-axis.

Defining facial regions. A. Click Find. B. Click Ok.
MotionBuilder automatically defines the zone of movement for the facial markers.
You can scale the global movement using the bounding boxes that define specific zones for the mouth, eyes, and eyebrows. For example, you can scale up the bounding box for the mouth to decrease the range of movement.
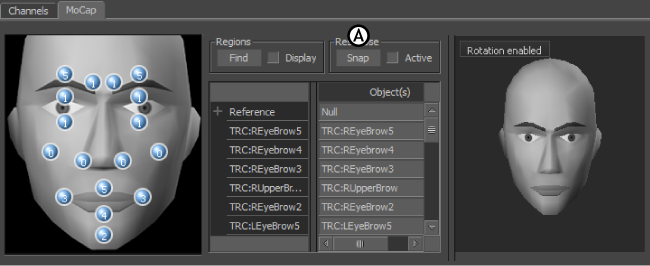
Tip: To view the bounding boxes in the Viewer window, activate Display in the Regions area. - With the motion data in a neutral pose, click Snap in the Rest Pose area.

Actor Face settings A. Snap option
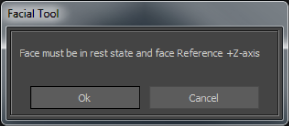
- Click Ok in the dialog box that appears.

Facial Tool dialog box
The starting pose of the face is set, and the mapping is activated. The Active option is automatically enabled, and the other options in the Regions and Rest Pose areas are disabled. To make any changes to the mapping, you must disable Active.
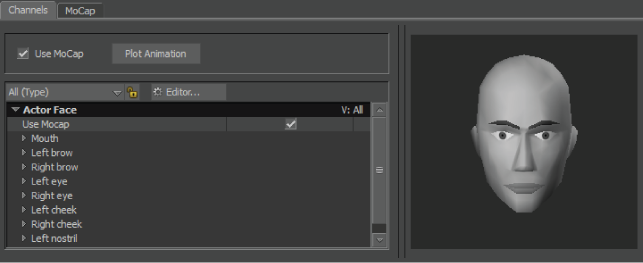
- Switch to the Channels pane to verify that the Use MoCap option is be active.

The Use MoCap option is activated in the Channels pane.
The motion capture source can now drive the channels. When you play the animation, the channel sliders move and show their active values, and the Preview pane shows the effect of the motion capture data.
When you have completed these steps, you can continue setting up your Actor Face to drive a Character Face.
See Facial motion capture workflow.
Note: You can use multiple motion files on different takes by creating a new take, selecting the optical root of the motion data, and loading another file from File > Import.