You can use the Scale constraint to transfer the scaling from one or more objects to another.
To scale a constrained object:
- Select a Scale constraint from the Asset browser’s Constraints folder and drag it into the Viewer window.
- If you drag it into an empty area of the Viewer window, the Scale constraint template appears in the Constraint settings.
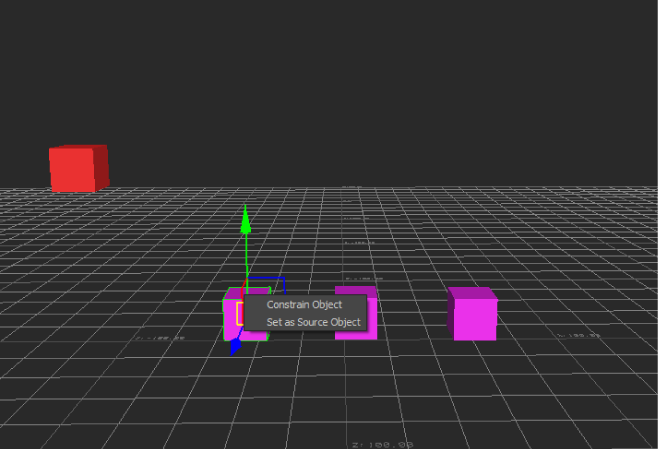
- If you drag the constraint on top of an object, a context menu appears asking if you want to assign the object as the constraint’s Source (parent) or Constrained (child) objects .

Constraint context menu
- Assign the object that you want affected by the scaling to the Constrained Object cell.
- Assign the object that you are using to create the scaling effect to the Source 1 cell. Note: You can have more than one object provide the scaling information to the constrained object by assigning new objects to the resulting Source cells.
- Adjust the size of the Constrained object, if necessary, with the Scale fields. Note: Disable the Lock option to activate the Scale settings.
- Click Lock in the Constraint settings to lock the position of the objects to be constrained and click Snap.
- Click Active to activate the constraint.
- Deactivate the Affect XYZ options in the Properties window Scale constraint settings to disable the scaling effect per axis.
- Weight the effect of the individual Source objects, if necessary, with the Sale constraint’s Source Weight slider(s).
- Select either Geometric or Average as the Blend Method from the Properties window Blend Method menu.