You can use the Path constraint to convert a 3D Curve created in the Viewer window into an animation path.
To create an animated path:
- Drag a Path constraint into the Viewer window from the Asset browser’s Constraints folder.
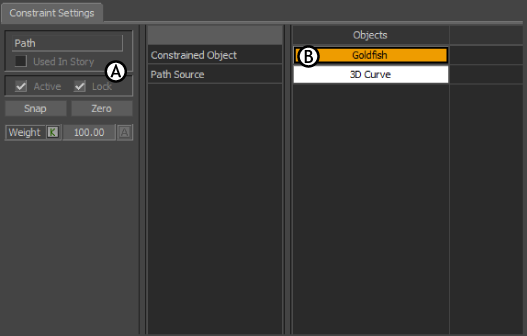
- In the Path constraint settings, drag the 3D Curve into the 3D Path field.
- Assign your light, camera, or object to the Constrained object field and click Active.

Path constraint settings A. Object settings B.Objects cells
Your object is constrained to the start point of the 3D Path. Click play in the Transport Controls and the object travels along the curve.
To create an animated path using the Key Controls:
- Select the object or objects that you want to constrain along the 3D Path in the Viewer window.
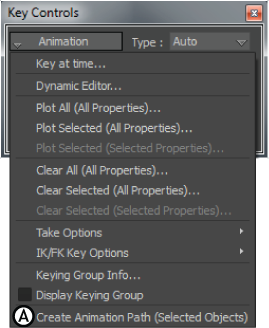
- Open the Key Controls Animation Menu and select Create Animation Path (Selected Objects).

Key Controls Animation menu A. Create Animated Path option.
- Click OK in the resulting dialog box that asks you to confirm the creation of an Animation Path.
A Path constraint is added to the Constraints folder in the Scene browser.
This number is the start frame as specified in the Transport Controls Start field. A key also appears at this frame.
- Advance the Transport Controls a few frames, and set a key frame. An Animation Path is created as you work, with a node appearing for every key that is set.