 The path where the examples are stored has changed. They are now at
C:\ProgramData\Autodesk\ATU\ATU-Examples\.
The path where the examples are stored has changed. They are now at
C:\ProgramData\Autodesk\ATU\ATU-Examples\.
The Autodesk® Advanced Toolpath Utility for Netfabb®, ATU for short, is a development environment for additive manufacturing. It offers a software development kit to prepare 3D model data for toolpath-based additive machines. Although the application is focused on metal printing, it can also be used for other printing methods.
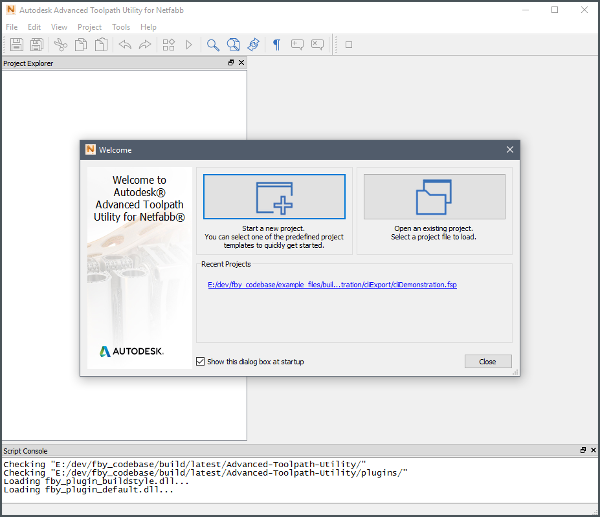
Starting ATU
The Advanced Toolpath Utility is part of the Autodesk® Netfabb® Ultimate software subscription. Start the application by clicking on Advanced Toolpath Utility at the Autodesk® Netfabb® Ultimate program group.
Load the Example Buildstyle
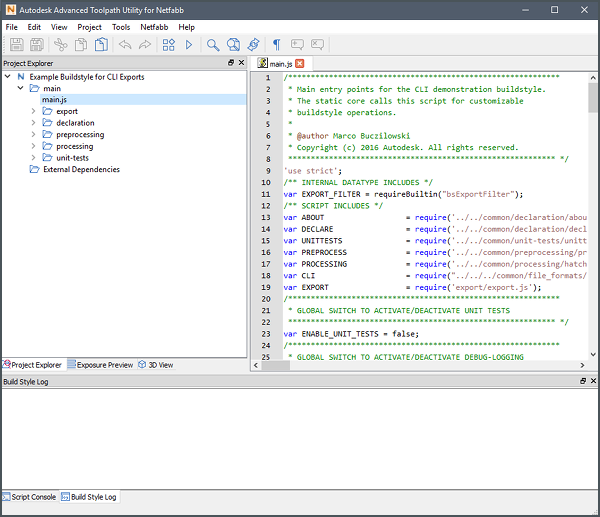
The application comes with a few example buildstyle projects. For this demonstration, please open the example buildstyle file, cliDemonstration.fsp, located here: C:\ProgramData\Autodesk\ATU\ATU-Examples\buildstyles\Demonstration\cliExport\
The following screenshot shows a custom window configuration. Try to get the same layout by dragging windows around. You can always hide and show windows using the View menu.
Add 3D Geometry to the Project
If necessary, open the Input Geometry Files window () and click Load.
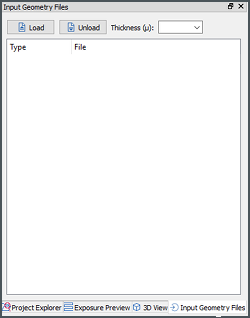
Extract the gear_sample.zip file located here at C:\ProgramData\Autodesk\ATU\ATU-Examples\Geometry files\ and move it to the geometry folder.
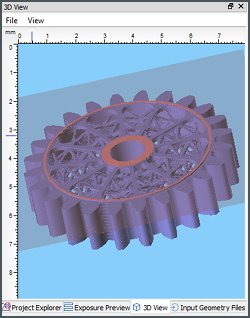
Select the sample file, gear_sample.stl.
Enter a platform layer thickness value of 10.

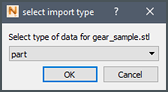
For the type of data, from the drop-down list, select part
Compiling the Buildstyle
Click the Compile button in the main button bar.

The Advanced Toolpath Utility now processes the input geometry file with the current loaded example buildstyle. The result that shows one layer from the top view can be evaluated in the Exposure Preview window.
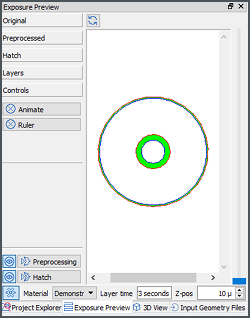
Navigation between layers can be done by using the slider or the spin control at the right side.
The results are processed using the JavaScripts of the buildstyle.
Now let’s start a data export. The export section of the JavaScripts creates files that are compatible with a specific 3D printer.
Exporting Machine Data
Machine exports require a configured machine platform and material.
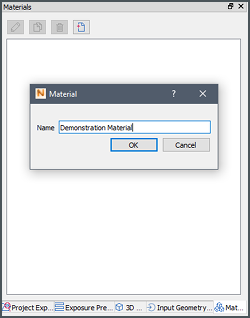
Add a Material
In the Materials window, add a material.
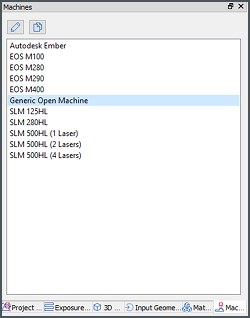
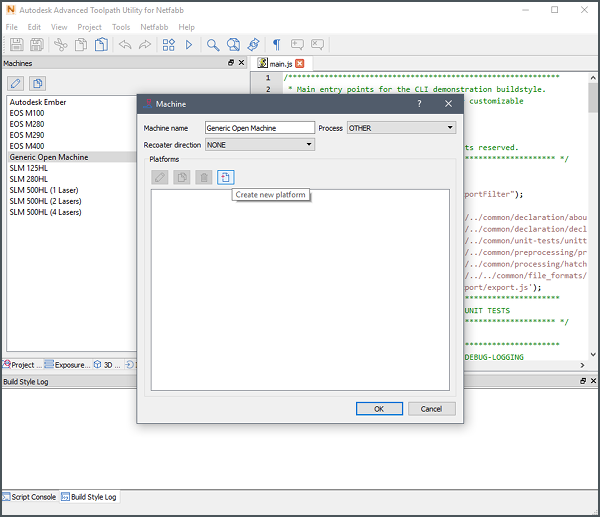
Create a Machine Platform
Double-click Generic Open Machine.
Under Platforms, click the Create New Platform button.
Double-click the Demo-Platform.
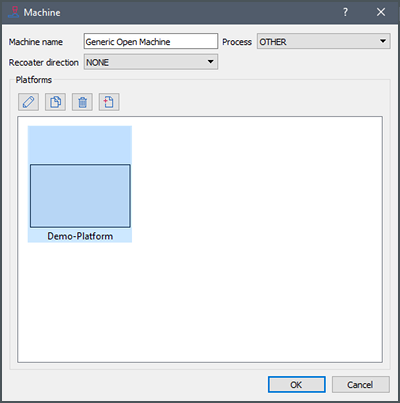
Enter a name for the new platform, such as Ember-Platform(64x40)
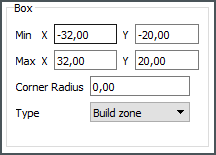
Select the Box entry at the left side to edit its parameters.
Export Test Build
Choose .
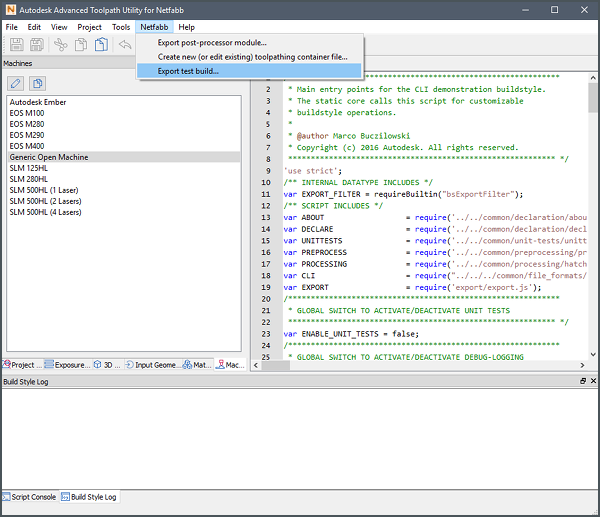
The configured platform and the material controls are shown.
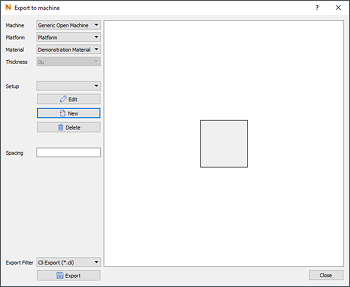
Now create a new setup by clicking New.
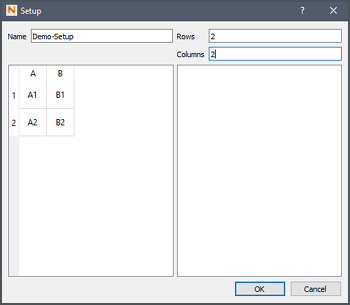
We’re going to print four copies of our part in a two-by-two arrangement.
Confirm the changes and click Export to get the printer data.