Add holes for drainage, and generate matching plugs
- Select a part from the project tree.
- From the menu, choose
Modify >
 Add Perforation.
- Adjust the presented settings as needed.
- Click
Add Perforation, and click on the location or locations on the part in the display where perforations should be applied.
This will place a red stencil that represents the perforation and plug about to be created. You can place multiple stencils, and with multiple different settings.
Tip: To remove any unwanted perforations, click Remove Perforation and then click on any placed perforations on the part in the display. - Click
Calculate to see a preview of the generated holes and plugs. This applies and clears the stencils, leaving the holes and generated plugs.
Note: This step cannot be undone.
- Click Apply.
- From the appearing dialog, make your choice regarding keeping or discarding the original part.
The part now has perforations added, and any generated plugs have been added to the buildspace as new parts.
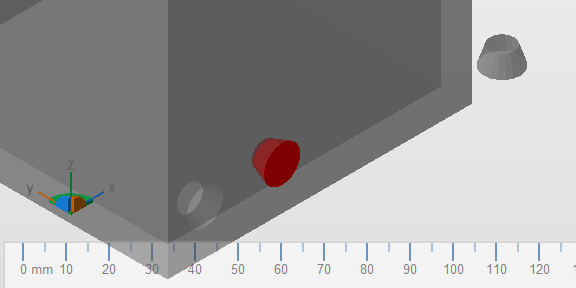
A hollow cube with one calculated hole and plug, as well as the hole stencil placed at a different position.
Tip: Perforation Presets
You may load and save perforation settings using the controls below the Plug settings, and create presets for later use.
- Load retrieves the values from the currently selected Saved Perforation and puts it into the Perforation fields.
- Save overwrites the currently selected Saved Perforation with the field values.
- Save as creates a new Saved Perforation from the current field values and a name you are prompted to provide.
- You may also
 Rename and
 Delete a
Saved Perforation.
Delete a
Saved Perforation.