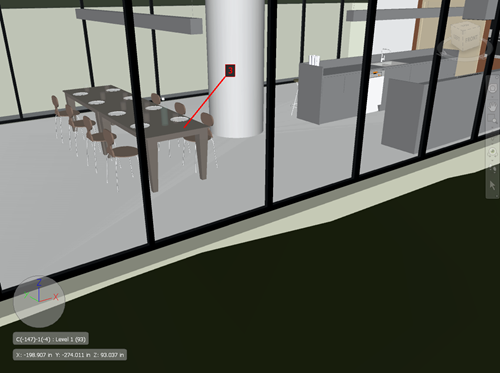
To add a tag
- Click
Review tab
 Tags panel
  Add Tag
 .
.
- In the Scene View, click the object you want to tag.
- Click the area where you want the tag label to be located. The tag is now added, and both points are joined by a leader line.
If the current viewpoint is not already saved, then it will be saved automatically and named “Tag View X”, where “X” is the tag ID.

- In the Add Comments dialog box, enter the text to be associated with the tag, set the tag Status from the drop-down list, and click OK.