To create a clash report
- In the Clash Detective window, run the desired test. If you ran all tests in the Tests panel, select the test you want to view the results for.
- Click the Report tab.

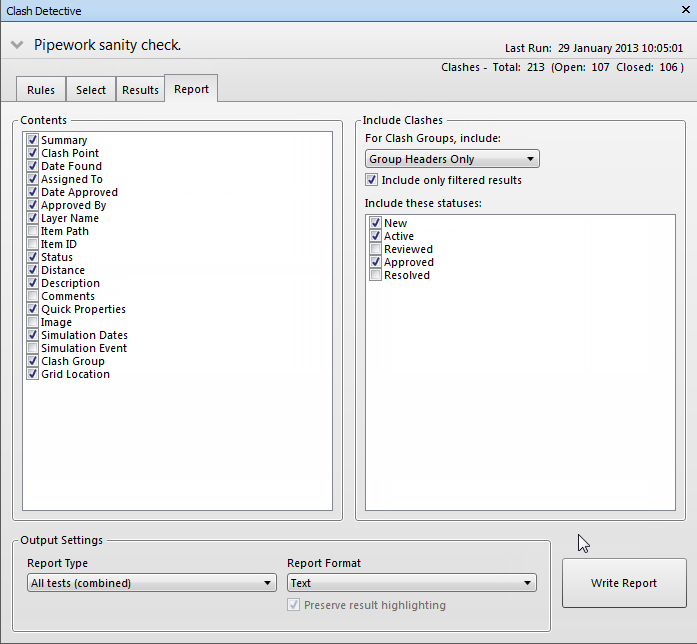
- In the Contents area select the check boxes for the data you want to appear in the report for each clash result. This can include Quick Properties relating to the items involved in the clash, how to find them in the standard Selection Tree from root to geometry, whether images or simulation information should be included, and so on.
- In the For Clash Groups Include drop-down list, select how to display the clash groups in your report. Note: If your test does not contain any clash groups, this box is not available.
-
Choose from the following options:
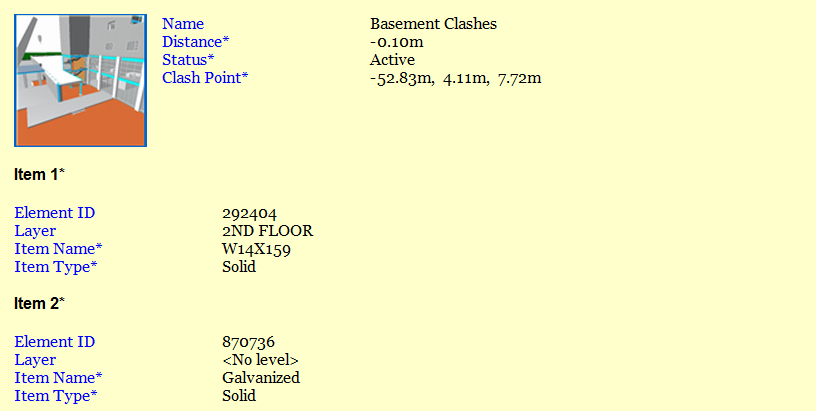
- Group Headers Only - your report will include summaries of clash groups and individual clashes not in groups.

An example of an HTML report with group headers only
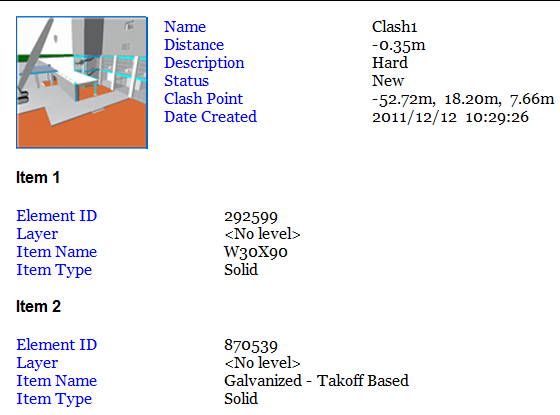
- Individual Clashes Only - your report will only contain individual clash results, and will not distinguish those results that have been grouped. For each clash that belongs to a group, an extra field, called Clash Group, can be added to the report to identify it. To enable this functionality, select the Clash Group check box in the Contents area.

An example of an HTML report with individual clashes only
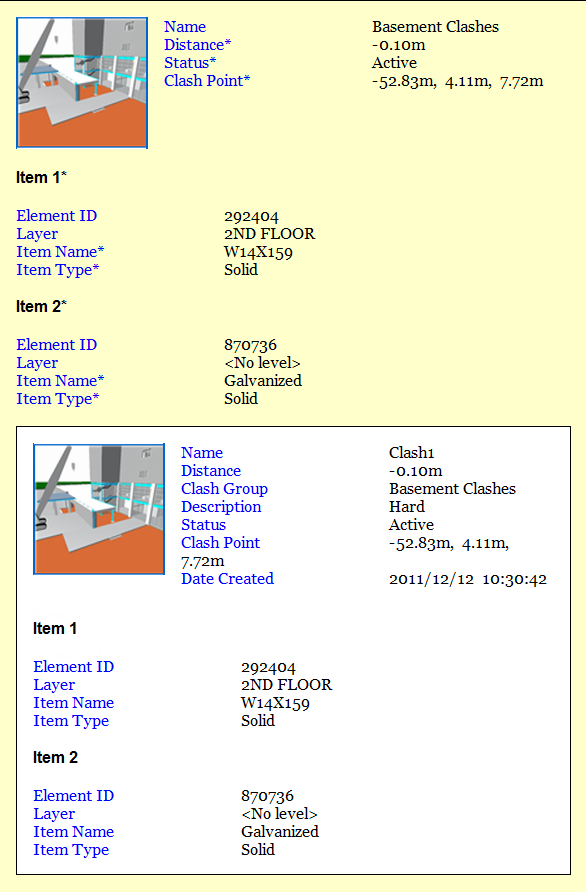
- Everything - your report will contain summaries of clash groups that you have created, clash results that are part of each group, and individual clash results. For each clash that belongs to a group, an extra field, called Clash Group, can be added to the report to identify it. To enable this functionality, select the Clash Group check box in the Contents area.

An example of an HTML report with both group headers and individual clashes
- Group Headers Only - your report will include summaries of clash groups and individual clashes not in groups.
- Use the Include Clash Types box to select the clash results that you want to report on.
- Select the type of report in the Report Type box:
- Current Test creates a single report file for the current test.
- All Tests (Combined) creates a single file containing all results from all tests.
- All Tests (Separate) creates a separate file for each test containing all results.
- Select the format of the report in the Report Format box:
- XML creates an XML file containing all the clashes and a jpeg of their viewpoints alongside their details. On choosing this option, you will need to select or create a folder for the files and enter a name for the XML file.
- HTML will create an HTML file containing all the clashes and a jpeg of their viewpoints alongside their details. On choosing this option, you will need to select or create a folder for the files and enter a name for the HTML file.
- HTML (Tabular) will create an HTML tabular file containing all the clashes and a jpeg of their viewpoints alongside their details. On choosing this option, you will need to select or create a folder for the files and enter a name for the HTML file. HTML tabular files can be opened and edited in Microsoft Excel 2007 onwards.
- Text creates a TXT file containing all the clash details and the location of a jpeg of each clash. On choosing this option, you will need to select or create a folder for the files and enter a name for the TXT file.
- As Viewpoints creates a folder in the Saved Viewpoints dockable window (this window is automatically displayed when the report is run), with the same name as the test. Each clash is saved as a viewpoint in this folder, with a comment attached containing the clash result details. Note: The Home view is the default camera orientation for clash viewpoints.
Note: To customize the appearance or layout of the HTML / HTML (Tabular) file, you will need to edit the clash_report_html.xsl / clash_report_html_tabular.xsl file. The installed file is located in the stylesheets subdirectory of the Autodesk Navisworks install directory. You can copy the edited file to the stylesheets subdirectory of any of the Autodesk Navisworks search directories. See Search Directories for more information. - Click the Write Report button to write the report. Note: Reports will respect any sorting of the data that you have done, for example into ascending or descending order, on the Results tab.