This section describes how to view a 3D simulation, which shows how the toolpaths will be machined. Now you have created all the turning profile groups for the part, this is a good time to run a simulation.
- Click the
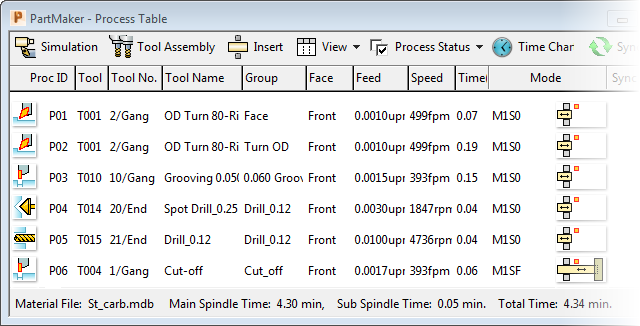
Generate Process Table button to create a Process Table, which lists the processes required to machine the toolpaths.

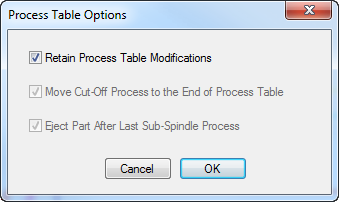
- Complete the
Process Table Options dialog as shown, then click
OK.
 Note: If PartMaker displays a warning that no ejection is programmed, click Yes to continue.
 - View the Process Table, then click
 .
.
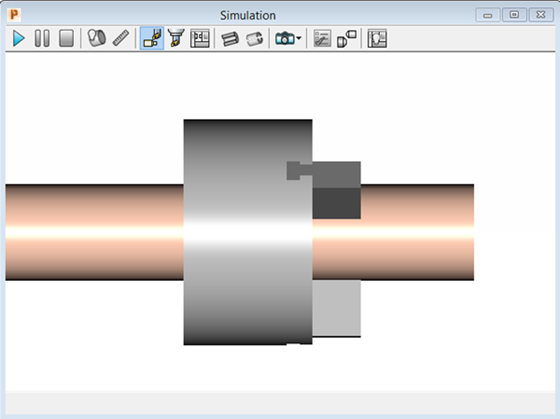
- In the Simulation window, click
Play
to start the simulation.
 Note: If PartMaker displays a warning that no eject operation is programmed, click Yes to continue.
 - When the simulation is complete, click the
Show Finished Part
button.

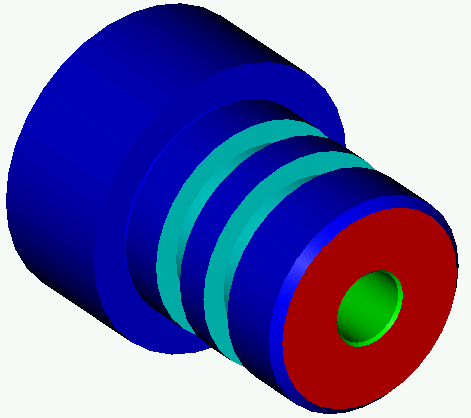
PartMaker displays a 3D representation of the finished part: