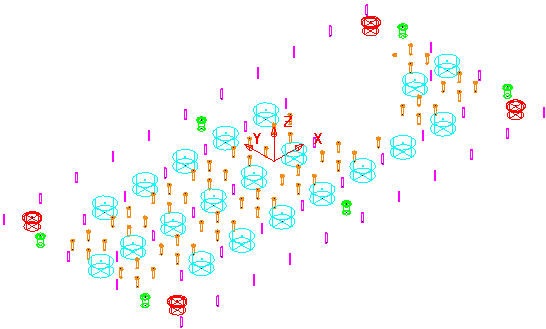
Use the Reverse item to reverse the orientation of selected holes. When you reverse holes they are placed in a new hole feature set. A new workplane is created with a Z axis that points in the opposite direction to the original.
To reverse selected holes click Hole Feature Set tab > Holes panel > Reverse.
This example shows you how to reverse selected holes using the retainerplate.dgk model in the Examples folder.
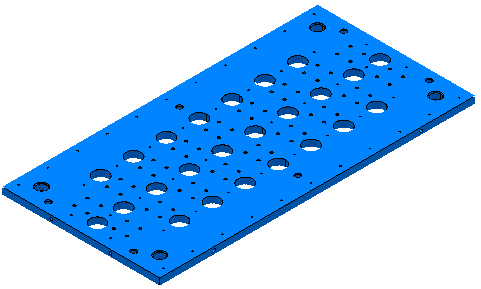
- Select the whole model.
- From the
Hole Feature Sets context menu, select
Create Holes.
This displays the Create Holes dialog.
- On the
Create Hole dialog:
- Select a Create from of Model.
- Select Create compound holes.
- Select Group holes by axis.
- Deselect Edit after creation.
- Click Apply.
PowerMill recognises the selected holes.
This creates five hole feature sets.
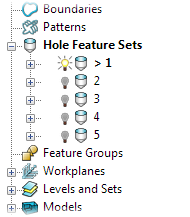
- Make hole feature set 1 active and undraw all the other hole feature sets.
- Select the holes you want to reverse.
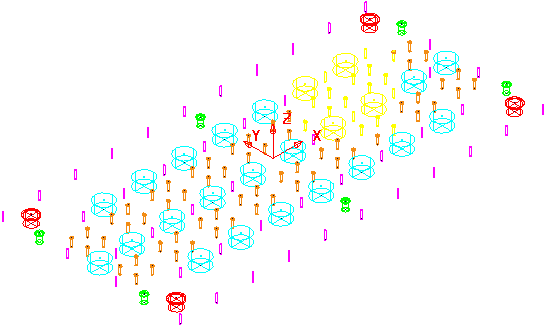
The selected holes turn yellow.
- From the individual Hole Feature Sets context menu, select Edit > Reverse Selected Holes.
- The selected holes are reversed. Unless either multi-axis is selected, or all the holes are selected, the reversed holes are placed in a new, automatically created, hole feature set (in this case, it is called 6). A new workplane is created with the Z orientation reversed.
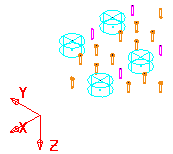
- These holes are automatically removed from the original hole feature set.
