You have now completed the setup, and can create the toolpath.
- Click Home tab > Create Toolpaths panel > Toolpaths to display the Strategy Selector dialog.
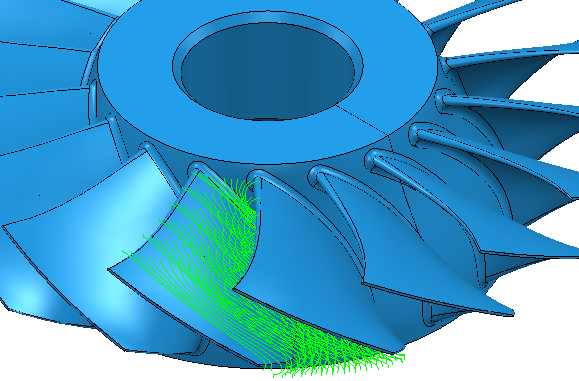
- From the Blisks category select Blisk Area Clearance.
For this particular example, large Stepover and Stepdown values have been used to demonstrate the toolpath, and the Tool Axis is set to Automatic.
- On the Blisk area clearance page:
- Select the appropriate levels (or sets) to define the Hub, Shroud, Left Blade and Right Blade.
- Leave the Fillets and Splitter Blade fields blank.
- In the Machine list select One Blade if you want to minimise machining time.
Otherwise, select All Blades, and click Calculate to count the number of blades on the blisk.
- On the Tool axis elevation page, in the From list, select Hub normal.
- On the Machining page, in the Offset list, select Offset Up.
- Click Apply to calculate the toolpath.