Use the Insert menu to insert entities into the boundary.
To display the menu, in the Explorer, right-click the selected boundary and select Insert.
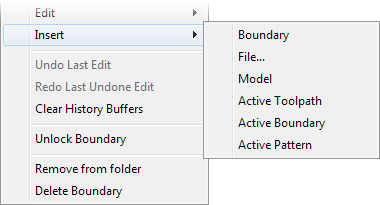
Boundary — Select to insert another boundary into this one. This displays the Choose item dialog.
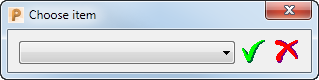
Select the boundary that you want to insert from the list and then click  .
.
File — Select to insert a .dgk or .pic file into the boundary. This displays the Open Boundary dialog which is a standard Open dialog.
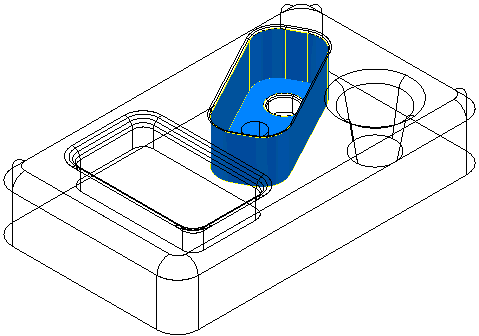
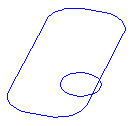
Model — Select to insert curves, defined from the selected surface edges, into the boundary. If you do not select any surfaces PowerMill uses the whole model.
From this model geometry with one surface selected (using the left mouse button):
The following boundary is created:
Active Toolpath — Select to convert the active toolpath to a curve and inserts it into the boundary. This option is unavailable if you have no active toolpath.
Active Boundary — Select to insert the current active boundary to the selected boundary. This option is unavailable if you have no active boundary.
Active Pattern — Select to convert the current active pattern to a boundary and inserts it into the boundary. This option is unavailable if you have no active pattern.