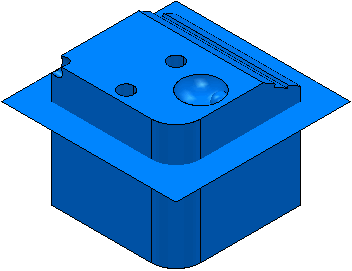
- Adjust the CAD view of the model to the required size and orientation. Make sure none of the toolpaths are drawn, and the model is shaded.
- From the
NC Programs context menu, select
Setup Sheets > Project Snapshot > Current View.
PowerMill creates the file ProjectSnapshot.png in the [Project folder]SetupSheets_files\snapshots folder. If you are not satisfied with the result, return to the Explorer, adjust the CAD view of the model, and retake the image.
Tip: To preview a created snapshot, from the
NC Programs context menu, select
Setup Sheets > Project Snapshot > Preview.
Note: By default, on a setup sheet, the snapshot is placed on the
Project_Header.html template. If a snapshot does not exist, the image file
ImagePlaceHolder.png is used.