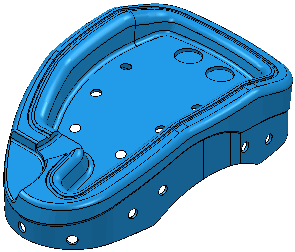
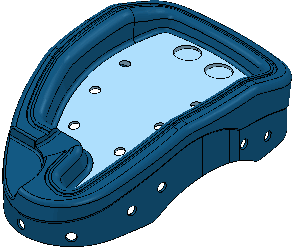
You can cap holes by clicking Hole Feature Set tab > Holes panel > Cap. Wherever possible, the hole is capped with a surface matching the rest of the model. If a surface cannot be fitted, then the holes are capped with a best fit plane. This plane is slightly inside the surface.
This example uses the 5axis_with_holes.dgk model in the Examples folder.

- Select the holes in the top of the model by placing a drag-box over them in the View tab > Views panel From > Top (Z) view.

- From the Hole Feature Sets menu, select Create Holes. to display the Create Holes dialog.
- On the
Create Holes dialog:
- Select a Create from of Model.
- Select Group holes by axis.
- Deselect Edit after creation.
- Click Apply.
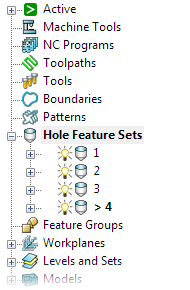
PowerMill recognises the selected holes and creates several hole feature sets.

- Make hole feature set
3 active.

- From the individual Hole Feature Set context menu select
Edit > Cap Holes. This caps the two holes in this hole feature set.

- This creates a
Capping Surfaces Model
and
Level.

- If you just have the
Capping Surface Level visible you can see the caps.
