When machining something from opposite sides, there can be mismatches in the middle where the toolpaths meet up. This may be because of differing tool orientation or machine accuracy, but a fundamental cause is that in one direction the toolpath stops while still in material, but in the other direction it runs into the machined area cut by the preceding toolpath.
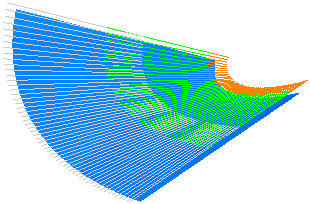
Use the Toolpath Lift dialog to avoid these mismatches. The dialog enables you to withdraw the tool gradually from the cut as it approaches the end of a pass. Effectively the last part of each pass should be replaced by a ramp that lifts along the contact normal, while following the underlying cutter direction and maintaining the tool axis. This is a type of ramp, but one that replaces part of the toolpath and goes in the same direction, rather than being tacked on the end and backtracking.
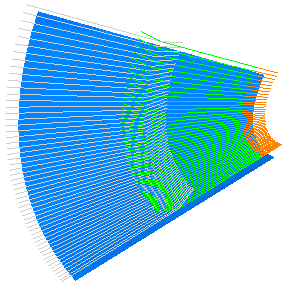
To display the Toolpath Lift dialog, from the individual Toolpath context menu select Edit > Lift.
Type — Select how the lift varies with the distance along the segment.
-
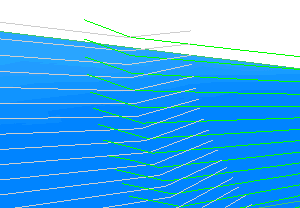
Linear — When selected, the amount of lift varies linearly with distance.
-
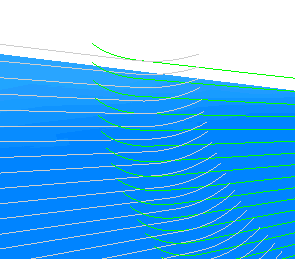
Arc — When selected, the amount of lift varies as a circular arc.
Length — Enter the length of the lift along the direction of the toolpath segment.
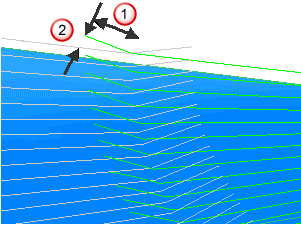
 Length
 Height
Height — Enter the maximum height of the lift.
Lift Start — When selected, the lift applies to the start of the toolpath segments. If some of the toolpath segments are selected, the lift is confined to those segments. If none are selected, the lift is applied to all of the toolpath segments.
Lift End — When selected, the lift is applied to the end of the toolpath segments. If some of the toolpath segments are selected, the lift is confined to those segments. If none are selected, the lift is applied to all of the toolpath segments.