To create a surface to fill the gap between selected points on a surface:
- Select the surface to be used, for example:
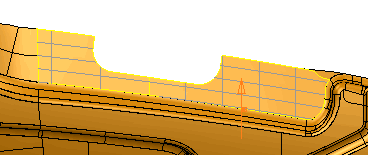
- Click Surface tab > Manufacture panel > Tooling > Fill Edge.
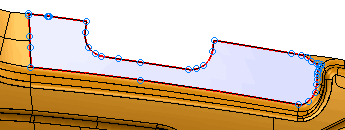
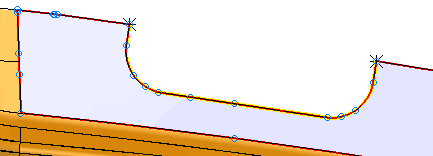
The points on the edge region are displayed on the model:
- Use the
Fill Edge Regions
dialog to create the surface using either the manual or automatic option:
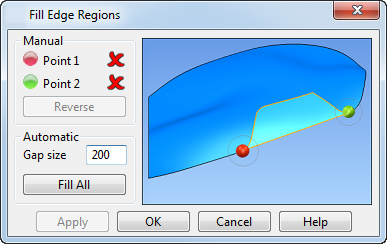
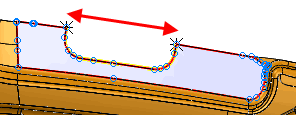
To use the Manual option:
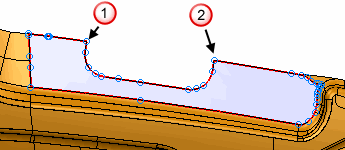
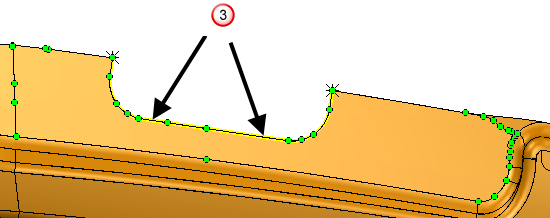
- Select
Point 1 and
Point 2 on the surface, as shown by
 and
and
 :
:
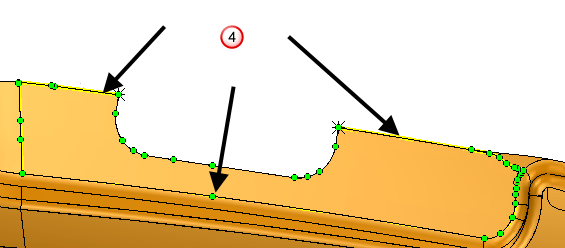
When you have made valid selections, the icons change from
 to
to , and the fill edge is highlighted:
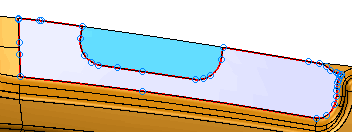
Use the Reverse option on the Fill Edge Regions dialog to switch between the shortest path
 and the longest path
 for selected points. The surface created depends on the path you select:
- Click
Apply.
To use the Automatic option:
- Adjust the
Gap size to the maximum size of the gaps to be filled.
Gaps larger than the Gap size are not filled.
- Click Fill all to fill all gaps that are smaller than the Gap size.
- Click OK.