The example below shows you how to edit holes:
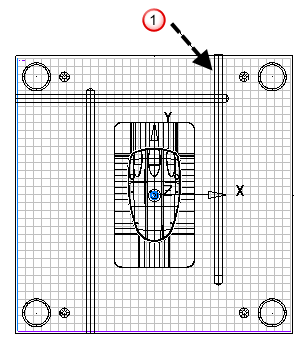
- To view the holes created, click Edit holes
 . This opens edit hole mode. The holes are drawn on the mold plate.
- Click a hole to select it

- Edit the hole as follows:
- To reverse the drilling direction, click the Reverse
 button. This changes the drilling site to the opposite face of the mold plate.
In the example, the hole on the right should enter the plate from the bottom. You can click the Reverse
button to correct the direction of the hole.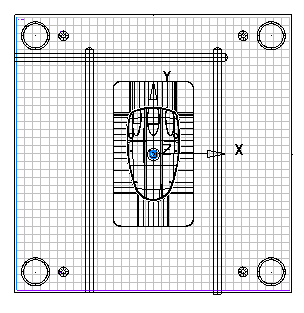
- You can change the size of the selected hole by dragging its edit handles. In the example, a drilled hole is selected
 . You can edit its diameter by dragging the handles at the end of the hole.
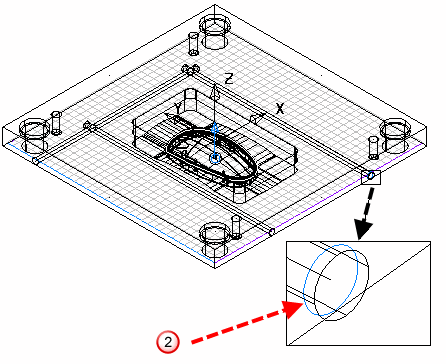
- You can also edit one or more holes using the Edit Selected Hole dialog. To display this dialog, click the Edit modify
 button or double-click the line at the centre of the hole.
 - In edit hole mode, you cannot edit the positions of cooling holes or delete them. To edit a position of a hole or delete it, click the Edit line
 button to go to line editing mode. The only way a cooling hole can be moved is by moving the layout piece that requires that hole. If you edit a layout piece line, its holes are recreated using the default hole values and any edits you previously made to the holes are lost.
 - If a hole is too long to drill from one end, you can turn it into a through hole. A through hole is one which is drilled from both ends. It can be defined by two different types of holes.
If you want to create a through hole, click the Through hole
 button. A handle is added where the two holes meet.
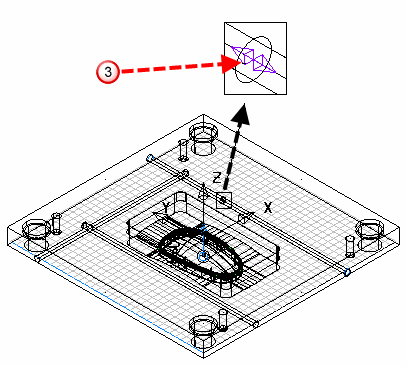
You can drag the handle
 to edit the position where the two holes split.
 - If you want to undo a through hole created using the Through hole button, click the Non-through hole
 button. If the through hole was reversed, the non-through hole will be the one before it was made into a through hole.
- To reverse the drilling direction, click the Reverse