The following model is used to illustrate creating a faultless solid.

- Click Home tab > Selection panel > All Surfaces.
- Click Solid tab > Create panel > From Items > From Surfaces/Meshes.
- Click No to the Make Watertight Wizard.
- Click Solid Tools tab > Fix panel > Solid Doctor.
The Solid Doctor dialog is displayed:
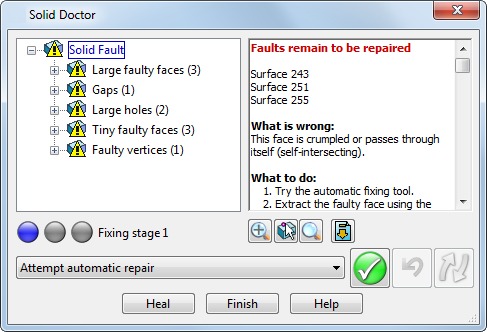
The first group of faults is selected in the fault tree and displayed on the model.
- Select Gaps (1).
- Click Extract surfaces around gap and edit them from the Repair Options drop down list
- Click Process the selected faults
 .
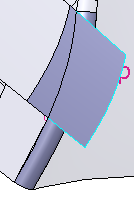
. - Zoom around the gap in the model window and select the 3 surfaces shown below.
- Click Delete
 .
. - Click Home tab > Selection panel > All Surfaces.
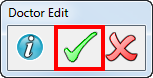
- Click Accept on the Doctor Edit toolbar.
- Click Tiny faulty surfaces (3).
- Click Delete surface(s) from the Repair Option drop down list.
- Click Process the selected faults .
- Click Re-check the solid for faults
 .
. - Click on the Gap label of the fault in the model.
- Click Extract surfaces around gap and edit them from the Repair Option drop down list.
- Click Process the selected faults .
- Click Accept on the Doctor Edit toolbar.
- Click Gap 1 in the Fault tree.
- Click Fill gap with tangential surface from the Repair Option drop down list.
- Click Process the selected faults .
- Click Re-check the solid for faults .
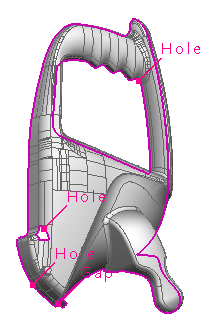
The outer edge of the solid is now marked as a hole.
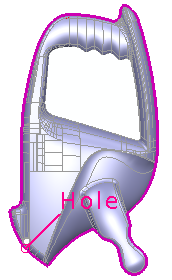
- Click Ignore intentional large hole from the Repair Option drop down list.
- Click Process the selected faults .
- Click Finish.
