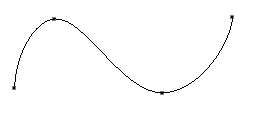
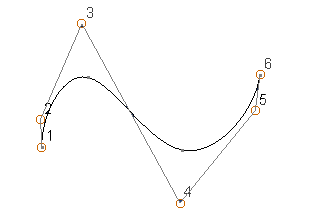
To create a B-spline curve:
- Click Wireframe tab > Create panel > Curve > B-spline.
- Input positions for the points of the curve.

As you enter key points, a rubber-band curve is displayed showing how the curve is forming.
If you want the curvature to be zero at the start point or end points, set the Curvature continuous options on the Curves page of the Options dialog (displayed by choosing File > Options).
Zero curvature has a flattening effect on the curve.
- To finish creating the curve, do one of the following:
- Click on top of the last key point entered; if the intelligent cursor is switched on, the end symbol
 is displayed to indicate when clicking completes the curve.
- Click the first key point to create a closed curve.
- Click
 on the Quick Access toolbar. When you click this button, the edit handles are displayed on the curve. The handles edit the shape of the curve.

- Choose another option from the Wireframe tab > Create panel.
- Click on top of the last key point entered; if the intelligent cursor is switched on, the end symbol
To edit a B-spline curve:
- Click on the B-spline curve to display the Manage tab.
The Manage tab > Curve Type panel > B-spline option is selected automatically.
- Select a point on the B-spline curve you want to edit.
Only certain editing options are available for B-spline curves:
- Reverse
- Select points on a curve
- Add new point
- Turn point labels on/off
- Turn curvature combs on-off
- Edit as Bézier/G2 edit
- To access other edit options, convert the B-spline curve to a Bézier or G2 curve:
- Click Manage tab > Curve Type panel > Bézier.
This displays Bézier curve graphic handles on the B-spline curve. The curve loses its B-spline editing ability and can be edited only as a Bézier curve.
- Click Manage tab > Curve Type panel > G2.
This displays Bézier curve graphic handles on the curve for editing. The curve remains a G2 curve if you drag the handles.
- Click Manage tab > Curve Type panel > Bézier.