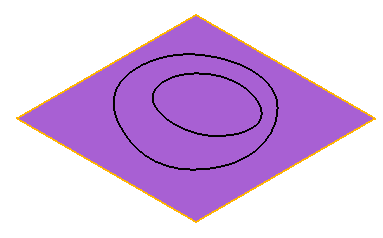
The following is an example of morphing triangle regions using a contour curve and a point:
Note: To see the effect of morphing, there must be sufficient triangles to allow the transform. The plane in the example below has been refined to increase the number of triangles.
- Select the mesh.
- Click Mesh Tools tab > Triangles panel > Morph Using Curves to display the Morph Triangle using Curves dialog.
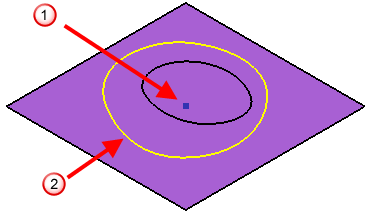
- Click the Centre of Gravity
 button to highlight the centre of gravity.
The point is highlighted in blue
 .
. - Use Ctrl+Click to select:
- point .
- outer contour
 .
.
- point
- Select Linear from the Blend list.
- Select Move from the Transform the outside list.
- Enter a Z value of 10.
- Click Preview to display the model.
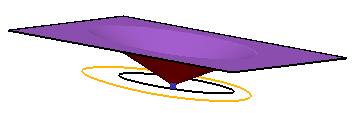
This shows that:
- The inner region (the point) does not move.
- The outer region is raised by 10.
- The blend area is created using a linear blend.