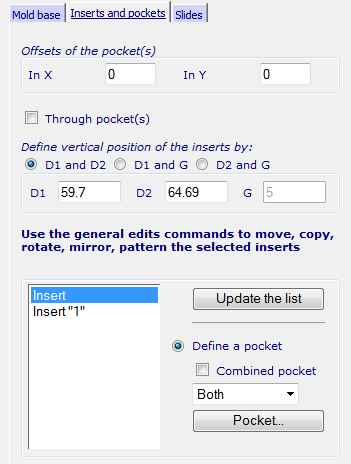
This tab specifies the position of the inserts or the pockets.
- If you use the
Die Wizard to create the inserts, the correct dimensions are entered to match the inserts. If you are creating an empty pocket, enter the attributes of the pocket.
Offsets of the pocket — Offsets the position of the pocket within the core and cavity plates.
Through pockets — Select this option to cut the pocket through the core and cavity plates.
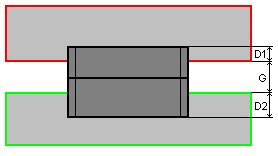
Define the vertical position of the inserts by — These are the vertical positions of the inserts using any pair of dimensions:
D1 and D2
D1 and G
D2 and G
- Click Update the list to update the list of inserts.
- Select inserts from the list. Select multiple inserts using the standard Shift + click and Ctrl + click techniques to select items from the list.
- Use the following options to create the pocket:
- Define a pocket — This option is selected by default.
- Combined pocket — Select this option to create a combined pocket for all the inserts. Deselect this option to create individual pockets for the selected insert.
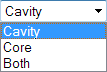
- Use the drop-down list to choose whether to apply the pockets to the
Cavity,
Core
or
Both.
- Click Pocket to display the Pocket dialog. You can use this to define the Draft, Corners and Fillets on the selected inserts.