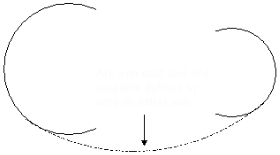
This is similar to creating an arc by inputting positions, except wireframe objects are clicked to define the end tangents of an arc.
The wireframe objects must lie in the same plane. If they don't lie in the same plane, use the Create an untrimmed blend curve option.
- Click Wireframe tab > Create panel > Arc > Fitted.
- Input the first position to define the start of the arc or click a wireframe object to define the start tangent of the arc.
If you move the cursor over a wireframe object and the intelligent cursor is switched on, the word Tangent is displayed where tangency is defined, otherwise the program assumes a start point is being specified.
If a wireframe object is clicked where tangency is defined, then the tangency is worked out as the cursor moves and displays the solution as a rubber band.
- Input the second position to define the end of the arc or click a wireframe object to define the end tangent of the arc.
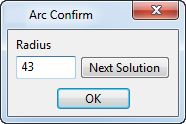
- If one of the objects is a curve, the arc is drawn and the Arc Confirm dialog is displayed showing the radius value of the arc.

- If none of the objects is a curve, input the third position to define a position on the circumference of the arc.

When you input the third position, the Arc Confirm dialog is displayed showing the radius value of the arc.
- Change the radius value of the arc or the solution, as required.
- Click OK