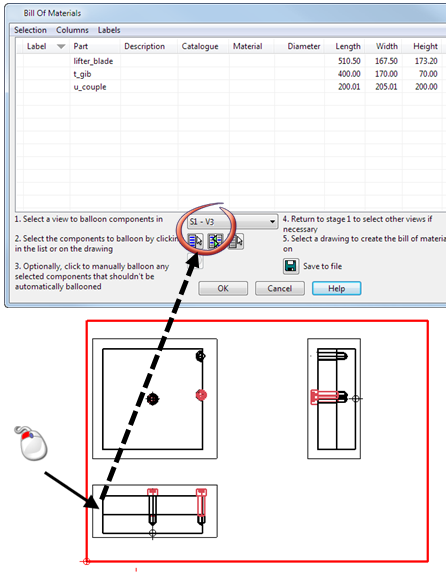
The lower half of the Bill of Materials dialog contains instructions and options for applying balloons and labels to components in drawings that are selected for the BOM.

Follow the instructions and select appropriate options:
- Select a view in the drawing where you want to apply component balloons. You can do this in one of the following ways:
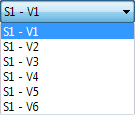
- Select a view from the drop-down list.
- Click a view on the drawing to choose where the balloon will be displayed. The value that is displayed in the drop-down list will be changed to match the view that you have chosen. You can then add a manual balloon to the drawing in the normal way:
- Select a view from the drop-down list.
- Click one of the following buttons to define the components to balloon.
 - Select all components in the list.
 - Invert the list selection.
 - Clear the selection in the list.
 - Click
 to create balloons manually for selected items. The Label Items dialog is displayed. Use this dialog to change the name of the label series that is used when adding balloons manually.
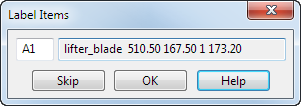
Balloons are added to a component in a single view; the balloon will appear on the last view that you selected.
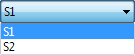
- Select the drawing where you want to create the BOM:
or click Save to File to save the schedule using the Save As dialog.