- In the Project Setup tree view, expand Plant 3D or Plant P&ID DWG Settings. Click Data Manager Configuration.
- On the Customized Views pane, click Create View.
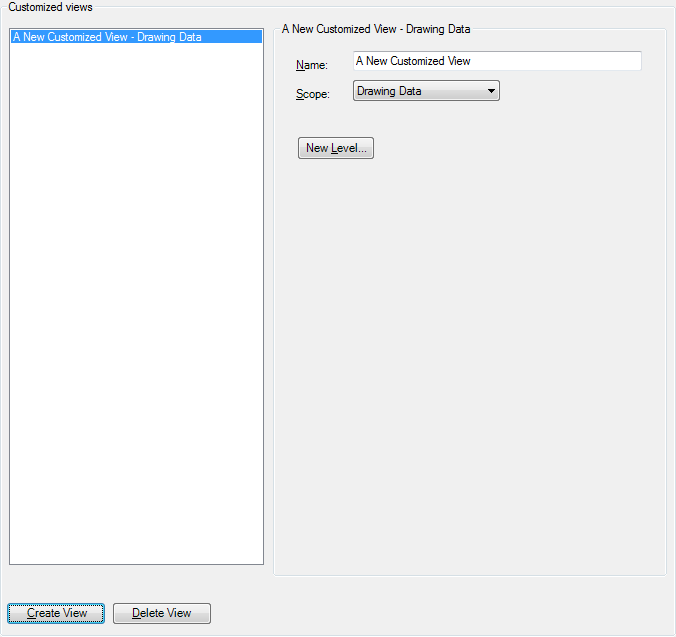
- Under A New Customized View, in the Name box, enter a name for your view.
- Under A New Customized View, define the scope of your view:
- To expand the scope of your view to include all project data, click Project Data.
- To limit the scope of your view to the current drawing data, click Drawing Data.
- Click New Level.
- In the Select Class Property dialog box, do the following:
- Under Class, expand the appropriate node and child nodes to locate and click a class for Level 1 (for example: Piping and Equipment).
- Under Properties, click a class property (for example: Manufacturer).
- Click OK.
- Click New Level and repeat step 6 to add the number of levels you want in the customized view. When you finish adding levels to the customized view, in the Project Setup dialog box, click OK.
Note: For best results in creating customized views, choose properties that are shared by all plant objects.