Specify a desired callout format or include specific information in the callout head by using a callout family.
The callout head is the symbol that displays to identify a callout bubble in a parent view.
To create a callout head family
- Click File tab
 NewAnnotation Symbol.
- In the Open dialog, select Callout Head.rft or M_Callout Head.rft.
- Click Create tabDetail panel
 (Line), and sketch the shape of the callout head.
- If desired, click
 (Text) to add text to the callout head.
This text remains constant for each callout that uses this family.
- Add labels to the callout head.
A label represents a variable field value that displays in the callout head. For example, the default callout head includes a detail number and sheet number. When you place the callout view on a sheet, the callout head in the parent view updates to show the detail number and the sheet number for the callout.
To add a label to the callout head, do the following:
- Click Create tabText panel
 (Label).
- Move the cursor to the drawing area, and click where you want the information to display in the callout head.
- In the Edit Label dialog, under Category Parameters, select the field to place in the callout head.
- Click
 (Add parameters to label).
- Click OK.
- Click Create tab
- If desired, add filled regions, masking regions, or other details to the callout head.
- On the Quick Access toolbar, click
 (Save), and specify a name and location for the new callout head family.
- To load the callout head family into open projects, click
 (Load into Project).
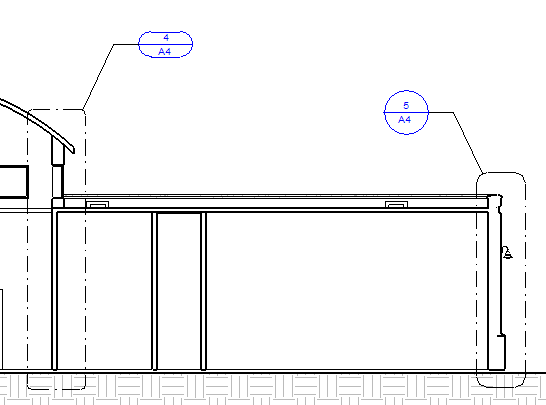
Example
Callout tags that use a different callout head.