Use Family Editor tools to build elevation tags to fit your organization's needs.
- Click File tab
 New
New Family.
- In the New Family - Select Template File dialog, navigate to the Annotations folder, and open Elevation Mark Body.rft.
- Click Modify tab
 Properties panel
 (Family Category and Parameters).
- For Family Category, select Elevation Marks.
- Under Family Parameters, for Elevation Mark Use, select Body.
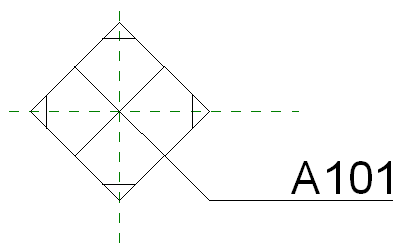
- Draw the tag body, and place label(s).

- Save the family as <elevation tag>.rfa.
- Repeat steps 2-4, open Elevation Mark Pointer.rft, set Pointer for Elevation Mark Use, draw the pointer, and save the family as <pointer>.rfa.
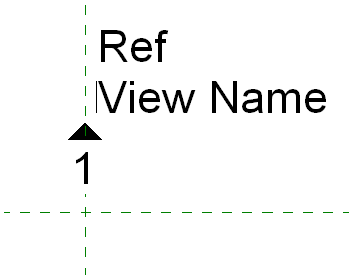
Ensure the pointer arrow you create points up as shown here. You can rotate it later in the process, if necessary.

- From any tab, on the Family Editor panel, click
 (Load into Project), and load the <pointer>.rfa into the <elevation tag>.rfa.
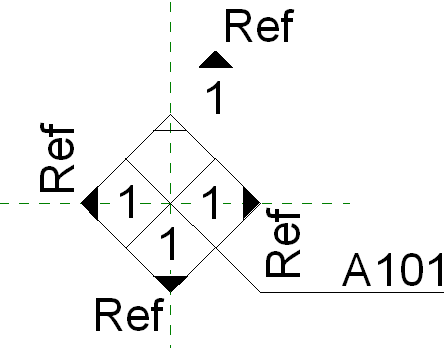
Now the pointer family is nested into the body family. Place instances of the pointer family until all directions that you wish to be available in the project are displayed.

Loading the Custom Elevation Tag into a Project
- Click Insert tab
 Family editor panel
 (Load into Project) to load the <elevation tag>.rfa into a project.
- In the project, click Manage tab
 Settings panel
 Additional Settings drop-down
 (Elevation Tags).
- Duplicate a type, and set the Type Parameter Elevation Mark to use the new elevation tag you loaded previously.
- Click View tab
 Create panel
 Elevation drop-down
 (Elevation).
- Click Modify | Elevation tab
 Properties panel
 (Type Properties).
- Duplicate the active type.
- Set the Elevation Tag type parameter to the new type, and click OK.
- Place an elevation view in the project.
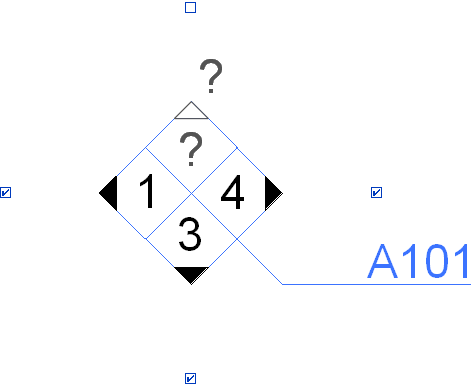
- Double-click the pointer to open the elevation view or select the elevation body to enable other arrows that exist in the family.

Selected elevation tag in project