You can create a callout from a plan, section, or elevation view and then add detail components while using the model geometry as a base. When you create a callout or section detail, you can reference another detail or drafting view in the model.
The following is a general procedure for creating a callout or section detail from a Revit LT view. Your design intentions may differ. You can also use this procedure for imported drawings.
- Do one of the following to activate the view creation tool:
- Click View tab
 Create panel
 (Callout).
- Click View tab
 Create panel
 (Section).
- Click View tab
- From the Type Selector, select Detail View: Detail.
- On the Options Bar, select an appropriate detail scale.
- To reference another detail or drafting view, on the Reference panel, select Reference Other View, and select a view from the drop-down list. (For a long list of view names, it can be helpful to enter keywords in the Search field to quickly locate the reference view name.)
- Choose 2 points on the plan view to define where the section is cutting.
Note: If this is a callout view, select the area to include in the callout view.
- On the Properties palette, for Display Model, select Halftone, and click OK.
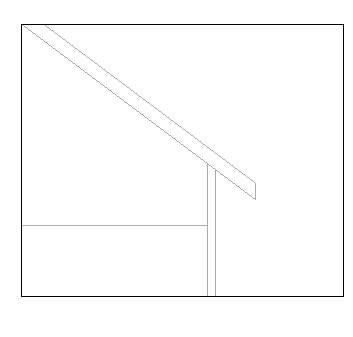
Model elements in the callout view display in halftone, allowing you to visually see the difference between the model geometry and added detail components.

Sample callout with halftone roof, ceiling, and wall for background
- Click Annotate tab
 Detail panel
 (Detail Line).
- Sketch along lines of the halftone elements or use them as part of your detail.
As you sketch lines, the cursor snaps to the model geometry in that view.
- Sketch lines that provide applicable construction details.
- If desired, create filled regions.
You might create a region to show concrete, grass, or sealant. As you sketch the lines for the region, you can change the line style on the Properties palette by selecting a different value for the Subcategory property. For example, you might want the region boundary to have invisible lines.
- Add detail components to the detail.
- If desired, add text notes, dimensions, and symbols.

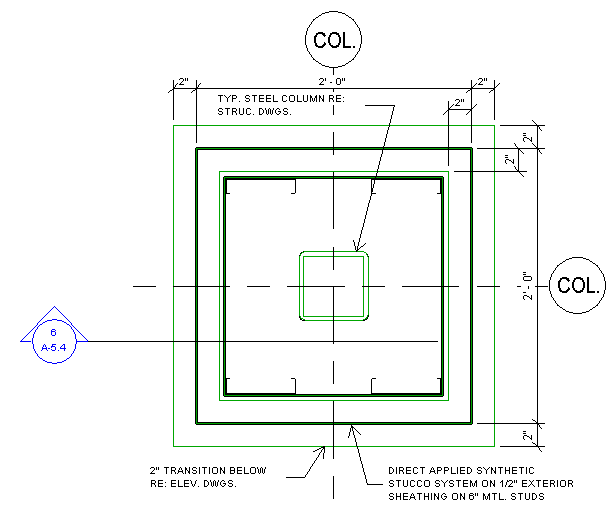
Sample details created with Revit LT detailing tools

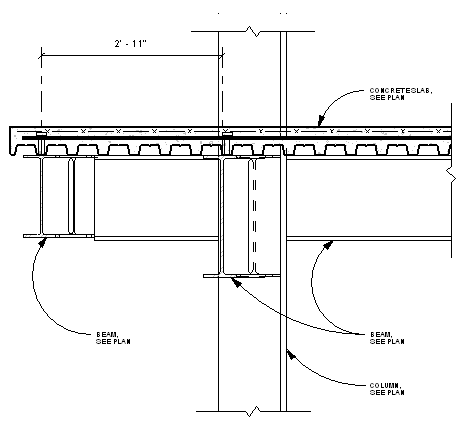
Sample structural details created with Revit LT detailing tools
 Video: Create a 3D Detail