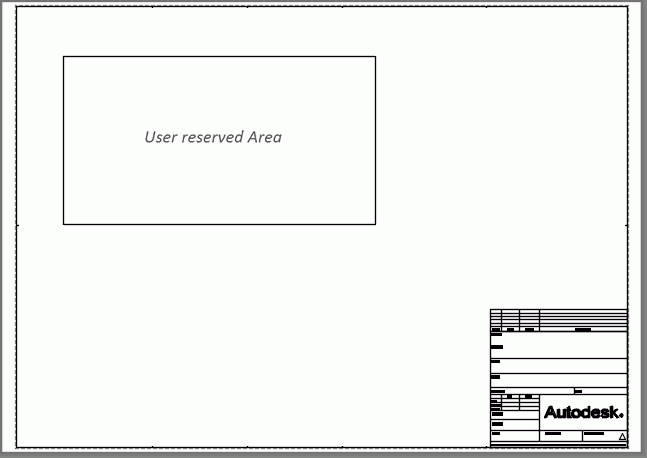
When arranging details on a prototype during drawing creation, Advance Steel uses all the space inside the Page Frame block (HYPERSTEELPAGEFRAME) from which it subtracts the space occupied by the Page Header block (HYPERSTEELPAGEHEADER). In addition to this, an additional block can be added to "reserve" space on a prototype and lock the respective zone from drawing arrangement. The block can be invisible on the created drawing, reserving a space usable after the page is printed (e.g. space required on the drawing for stamping) or the block can contain information like specific pictures added to the prototype or other information over which Advance Steel does not create and arrange detail views.
To add this reserved space on a prototype perform the following steps:
- Open the prototype file required for modification. The prototype files are located in the following folder:
Windows 7: ...\ProgramData\Autodesk\Advance Steel 2022\[INSTALLATION LANGUAGE EXTENSION]\Shared\Support\Prototypes
- Create the shape of the reserved area from various AutoCAD® options like closed polylines, rectangles, circles etc. In the following example a rectangle is used:

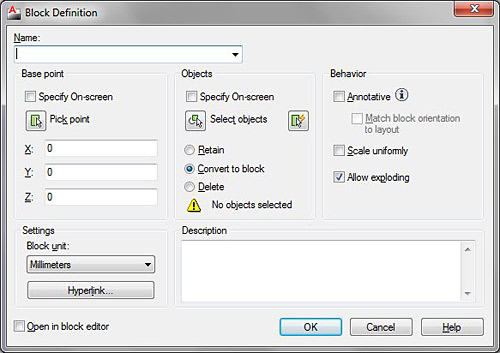
- After the area is defined transform it into an AutoCAD® block with a specific name, recognizable by Advance Steel as a reserved area using the BLOCK command.
- In the dialog box, fill in the following information:

- Name: ADVANCESTEEL_RESERVED_AREA
- Base point: one of the area corners
- Objects: select the reserved area object (in this example: the rectangle object).
- Click OK.
The block is created.
- Save the prototype and close it.
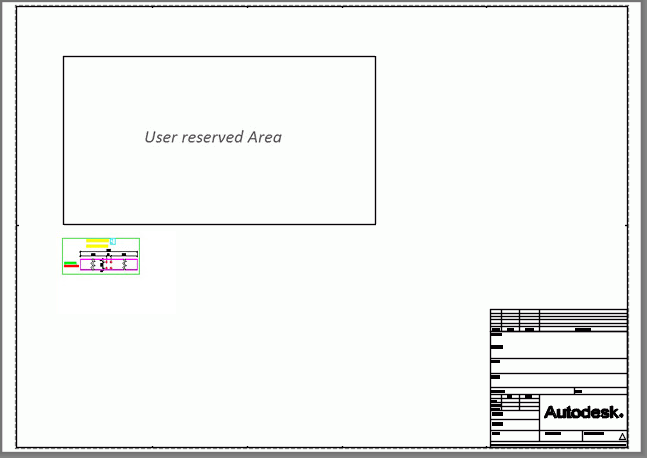
When this prototype is used to create a drawing, the area in the rectangle will not be used for drawing arrangement, and the first detail view will be created on the left side / first column, under the rectangle:

Note: The rectangle defining the user reserved area can be moved on the prototype file to a hidden layer, to avoid it appearing on the created drawings. Moving it on hidden layer will not affect its functionality.