Reorganize the tools on the existing tool palettes or create new tool palettes for easier access to the tools you use frequently.
Reorganize existing tool palettes
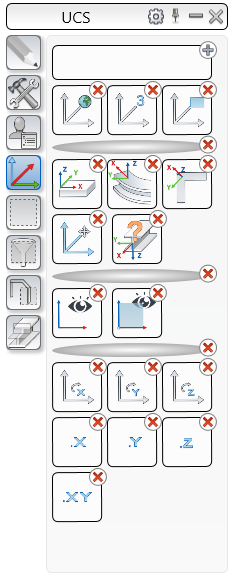
You can group commands on the tool palettes for easier access to the frequently used tools. The icons displayed in the tool palette can be reorganized with a long right-click on the palette which provides access to the customization.
The following actions are possible:
- Click on the top-right red cross to delete the icon.
- Drag & drop an icon in the same or in a different group.
You can customize any existing or newly created tool palettes to suit your needs:
- Rearrange the tools by dragging them in the desired positions.
- Add separator lines.
- Add new buttons to a tool palette.
- Delete buttons that you no longer need.
- Create a new tool palette.
- Create a new group of commands in a tool palette.
- Combine multiple commands in one button.
To exit customization mode, click the palette title bar.
Add or remove tool palette content: command, separator, category
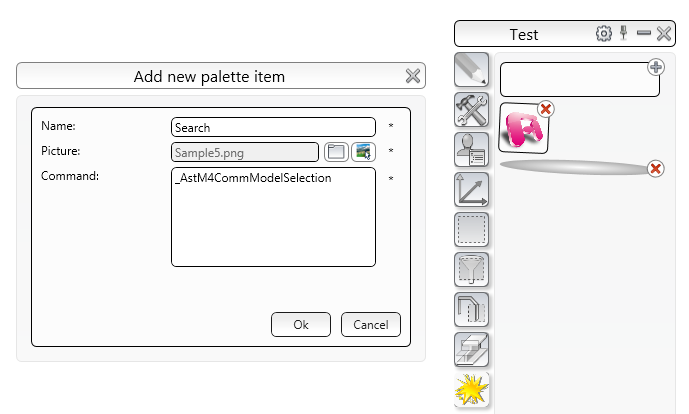
Add a command to the tool palette
- Select the tool palette to modify.
- Long right click on any button on the selected tool palette. The tool palette switches to the customization mode.
- Click
 and select Command from the menu.
- In the dialog box, make the necessary settings:
- Enter a name for the command. The name appears as a tool tip when you hover over the button.
- Add a picture: Click Browse and select the desired image (.png file).
- In the Command field, enter the name of the command. You can combine multiple commands in one button.
Delete a command from the tool palette
- Select the tool palette to modify.
- Long right click on any button on the selected tool palette. The tool palette switches to customization mode.
- Click the top-right red cross of the icon you want to delete.
Add a separator line to a tool palette
- Select the tool palette to modify.
- Long right click on any button on the selected tool palette. The tool palette switches to customization mode.
- Click
and select Separator from the menu.
- If necessary, drag the separator to the appropriate location on the tool palette.
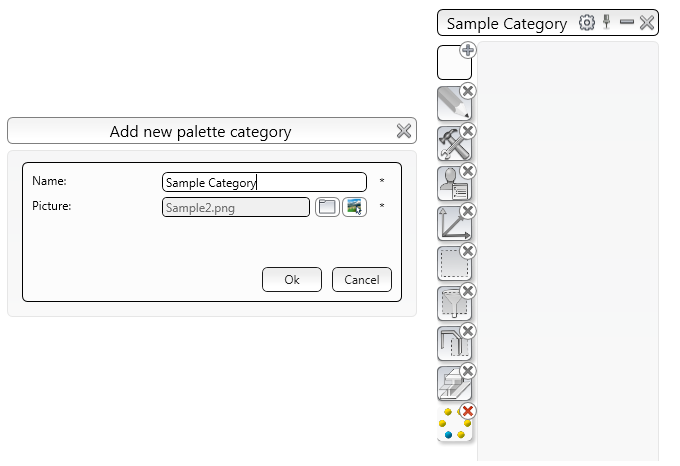
Add a category to the tool palette
- Long right click on any button on the left side of the tool palette. The tool palette switches to customization mode.
- Click
and select Category from the menu.
- In the dialog box, make the necessary settings:
- Enter a name for the category. The name appears as a tool tip when you hover over the button.
- Add a picture: Click Browse and select the desired image (.png file).