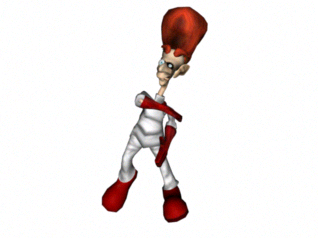
Use the Physique modifier to attach a skin to a skeleton structure such as a biped. The skin is a 3ds Max object: it can be any deformable, vertex-based object such as a mesh, a patch, or a shape. When you animate the skeleton with skin attached, Physique deforms the skin to match the skeleton's movement.


Animating the underlying skeleton enables you to animate a single contiguous model of a character that bends, creases, and bulges about an arbitrary number of joints within the attached skeleton.
With Physique, you can define how the skin behaves when it deforms. For example:
- You can make portions of the skin solid, excluding them from Physique's deformation, though solid portions still move along with the root node of the skeleton they are attached to. These solid portions are said to be root vertices.
- You can make portions of the skin deformable. They move with the deformation spline, the smooth curve running through the links of the skeleton they are attached to.
- You can make portions of the skin rigid, directly moving along with the skeleton they're attached to.
- You can add bulges to simulate bulging muscles. Bulges are controlled by editable cross sections of the skin, and by bulge angles that you set.
- You can add tendons to distribute the effect of one bone's motion to areas of the skin other than those around the bone itself.
- You can save Physique data to a Physique (.phy) file, preserving data common to all objects sharing a given Physique modifier. Later, you can reload the data file, either to restore the data that belongs to a particular skin or portion of skin.
Physique works with bipeds created and animated using the Biped plug-in, and with 3ds Max hierarchies, including the Bones systems. Physique also works with bones that are not in a hierarchy and splines.