Create a surface offset with Surfaces > Surface Offset
![]()
Offset a surface using the Surface Offset tool
In the Surfaces tool palette, select the Surface Offset tool
 .
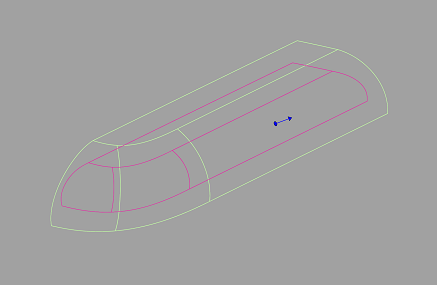
.Pick the surface you want to offset. The offset appears in a different color than the picked surface with an arrow indicating the direction of the offset. The image below displays offsets of multiple surfaces.
Do any of the following:
Drag the arrow left and right using the
 left and right to change the offset distance. You can also change the offset direction by dragging the arrow head or clicking the base of the arrow.
In the Surface Offset Control window, type a number or use the slider to set the Offset Distance exactly and specify other options for the offset.
Note:You can specify a positive or negative Offset Distance value to create a curve offset on either side of the original curve.
Select additional surfaces (or de-select them) by holding the
 key while clicking them or using a pick box.
Turn on Create COS to create a COS when applying a surface offset. Previous to Alias 2022, a COS was created by default when you applied a surface offset with this tool.
Turn on Create Trim to include the trim data of the original surface in the new offset surface. This option is on by default.