Change wires to a different wire layer.
When a wire is inserted, the wire ends up on the first valid wire layer as defined in the Drawing Properties dialog box. You can place wires on different wire layers. You can use the AutoCAD® PROPERTIES command to move a wire to the correct layer or you can use the Wire Layer utility.
Change wire layer assignments
- Zoom in on the upper left corner of the drawing.
- Click
 . Find
The Change/Convert Wire Type dialog box lists all the valid wire layers that are defined for the active drawing. The wire layer name and the wire properties like color, size, and user-defined properties are listed in the grid. An “X” in the Used column indicates the layer name is currently being used.
- Select RED_18AWG.
The wire type highlights in blue in the dialog box indicating that it is the wire type to change.

- Click OK.
- Respond to the prompts as follows:
Select Objects:
Window from left to right around the wires as shown and press ENTER
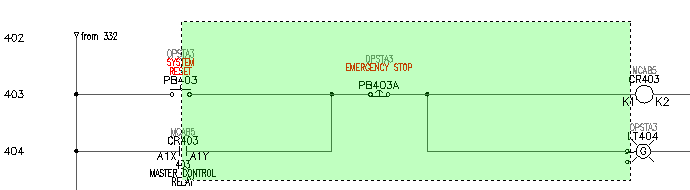
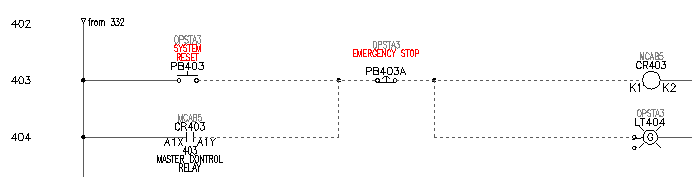
Before you press ENTER, the wires display as dashed lines to indicate that they have been selected. Once you press ENTER the lines display in red indicating that they have been moved to the RED_18AWG wire layer.
- Repeat to move any other wiring onto another wire layer.