Apply the added connector and wires to the 2D model.
Switch to AutoCAD Electrical toolset.
-
Click
 . Find
- Select
driverseat_from_inv.xml. Click
Open.
Note: If you do not have Inventor, you can now use driverseat_from_inv.xml provided in the folder specified on the Introduction page.
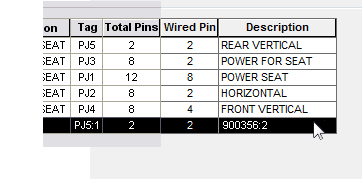
- The connector you added in Inventor is listed in the
Connector Selection dialog box. Select the row for the connector.
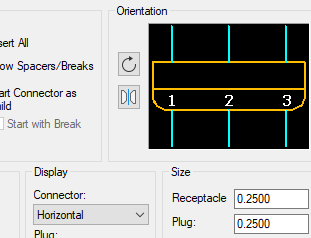
- At the bottom of the dialog box, click Details.
- On the connector display menu, click
Horizontal.
The display in the dialog box switches to horizontal.
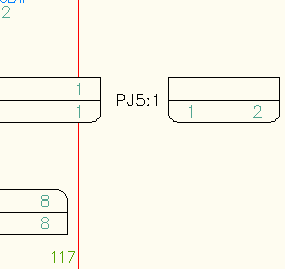
- Click Insert.
- Place the connector to the right of the power seat main switch.
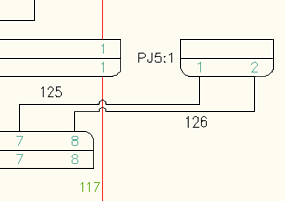
- In the
Connector Selection dialog box, click
Wire It. AutoCAD Electrical toolset connects the pins as you specified in Inventor.
You completed the tutorial.