Learn how to edit auto routes and switch to alternative auto route solutions
To edit auto route regions
The following edit options are available for auto route regions:
- Add interior route points manually.
- Continue forward routing with a finished auto route region.
- Place fittings on an auto route region, reposition a placed fitting, delete a placed fitting or default fitting.
- Change the active route style.
- Use Edit Position or Move Segment to reposition route segments.
- Use Edit Position or Move Node to reposition the intermediate route points that are associated with a default coupling fitting .
- If there are multiple solutions for an auto route region, switch to alternative auto route solutions upon route creation or at a later time.
- Convert auto route points to sketched route points.
- Delete auto route regions.
- Show and delete client constraints.
- Rename auto route regions or route points.
Tip: Before editing auto routes, you can determine whether you allow the tube and pipe runs assembly, specified runs, and specified routes to respond to changes. It is recommended that you defer automatic updates for large, complex tube and pipe assemblies.
To switch to alternative auto route solutions
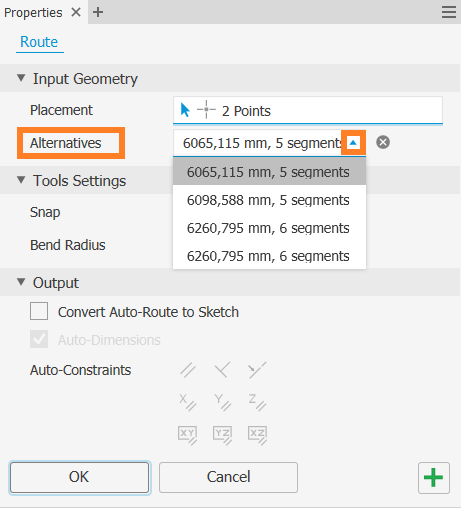
Once terminal geometry is defined to create an auto route region, there may be multiple solutions calculated based on length and number of segments. To display the available alternative during route creation, click the Alternatives drop-down arrow.

Note: You can also use the Select Other command to cycle through all the available solutions.
- Activate the route.
- Right-click the Autoroute browser node or an auto route segment in the graphics window, and select Alternate Route Solution.
- Use the Select Other command to navigate to the desired solution and click the green area to set the selection.
- Right-click in the graphics window and select Finish Edit.