Adding Shots to the Storyboard
You can add shots or timelines to the Storyboard by dragging them from the Library. You can also drag shots or timelines directly from the file browser and drop them into the Storyboard. In this case, the shots are also placed into the Library (if they are not already there).
To add shots to the Storyboard:
Select shots in the Library.
The order in which you click shots in the Library determines their order in the Storyboard.
Tip:If you select the wrong shots, click any empty grey area under the Storyboard. This releases the selected shots from the cursor.Drag the shots to the Storyboard.
A yellow insertion marker appears on the Storyboard.
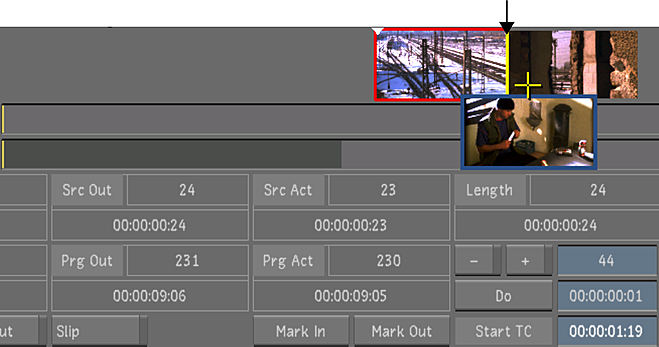
Image courtesy of Hungarian Academy of Film & Theatre, 3rd year
As you move the cursor back and forth along the Storyboard, the insertion marker moves.
Click to add the shots to the Storyboard.
The shots are added to the end of the Storyboard if Solo mode is disabled or to the location of the insertion marker if Solo mode is enabled.