About Containers
Use containers to store multiple versions of the same shot with different grades or multiple shots. Grading is applied on the shots inside the container and not on the result of the container.
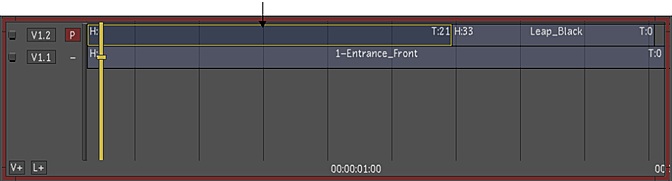
Containers on the timeline are dark grey in colour:
On the storyboard, a dark grey box on the left corner of the thumbnail indicates a container:

Inside a container you can work with video tracks and layers:
- When working on layers inside the container, you can perform any editorial task, add versions and use Shot Priority to define the output of the Container.
To create a container:
Select one or more timeline segments.
Click the Ctnr button.
Container segments/elements appear dark grey in the record timeline.
To enter a container:
Double-click the container segment.
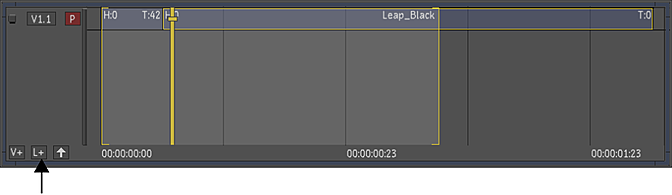
The contents of the container are displayed.
To exit a container:
Click the Up Arrow button (next to L+ button, located at the bottom left side of the timeline).
The contents of the container are collapsed into a single segment.

To add a clip to a layer in a container:
Double-click the container to open it.
Click L+ to add a new layer.
Select the clips from Library.
Drag the clips to the layer in the container.
Use containers to hold multiple versions of grading on a shot.
To create a new version of the grading without entering the container:
Hold down the Ctrl key and click the New button.
A new version on vertical layer appears inside the container.
To remove a container:
Place the positioner on the container, or select the container.
The selection overrides the positioner.
Hold down the Alt key and click the Ctnr button.
The container is removed and the container contents are inserted on the current timeline.