About Matte Containers
Use matte containers to perform secondary colour grading and effects with externally generated mattes.
Matte containers are composed of timeline segments that contain two video tracks:
- The primary video track contains the shot.
- The secondary video track contains the matte. Use the matte for secondary colour grading and effects.
It is possible to build complex multi-layered content inside a matte container. However, only the source media of the matte track is used for secondary colour grading. Effects created on the matte, including dissolves, are not used in secondary colour grading.
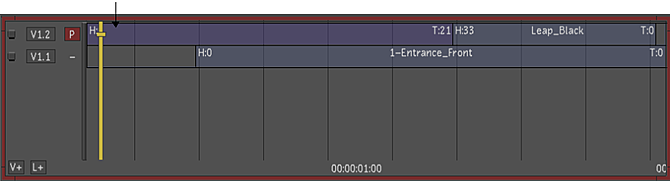
Matte containers on the timeline are purple:
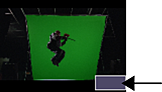
On the storyboard, a purple box on the left corner of the thumbnail indicates a matte container:
If there is a gap or virtual colour clip on a matte track and an external matte is enabled (R/G/B/A buttons), the matte is seen as opaque (black) so any correction will not be seen on the graded image. This behavior is also true for multi-channel clips where no matte media is available (displayed as gap).
You can create matte containers from both monoscopic and stereoscopic media.
To create a matte container:
Select one or more timeline segments.
Press Ctrl and click the Ctnr button.
The segment turns purple to indicate that you have created a matte container.
To change a video track inside a matte container from Primary to Secondary:
- Do one of the following:
- Click the left side of the video track (-) to make it Primary (P).
- Middle-mouse-click on the left side of the track or channel (-) to make it Secondary (S).
Enter, exit and remove a matte container in the same manner as a container.