About Multi-channel Clips
A multi-channel clip is a source clip that contains one or multiple matte channels. Add matte media to source clips in the Lustre timeline to create a multi-channel clip and use the matte for secondary colour grading and effects. See Working with Mattes.
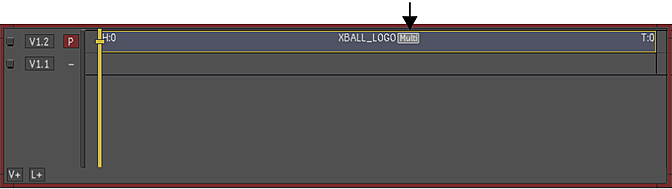
On the timeline, the multi-channel clip is labelled Multi.
On the storyboard, the multi-channel clip is labelled Multi.

When you create a multi-channel clip, the source clip is modified in the library. Next time you use the source clip, the matte will be available. Any modification done inside the multi-channel clip is replicated in the library source clip.
The front and the matte clip can be different file types or bit depth, but they must have the same resolution to create a multi-channel clip.
To create a stereoscopic multi-channel clip:
Add the left and right source media to the stereo timeline.
Hold Ctrl and drag the matte clip from the library and drop it on the source media on the timeline that corresponds to the stereo eye.
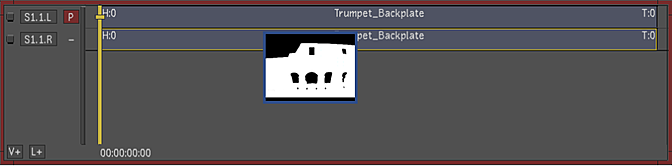 Tip: Dragging and dropping while holding Ctrl drops the matte at the first frame of the source clip. Holding Ctrl+Alt while dragging and dropping inserts the matte at the first frame of the In point of the desired timeline segment.Note:The Ctrl+Alt option is exclusive to Lustre 2012 Extension 1.
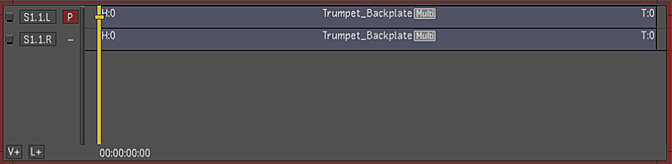
A "multi" icon appears on the Stereo timeline segments, but only one of the stereo sources is updated in the Library.

If you open the multi-channel clip, you see that the channels for the other eye are empty.
Hold Ctrl and drag the other matte clip from the library and drop it on the source media on the timeline that corresponds to the other stereo eye.
A "multi" icon appears for the other stereo source in the library.
If you open the multi-channel clip now, you see that the front and matte clips for both.

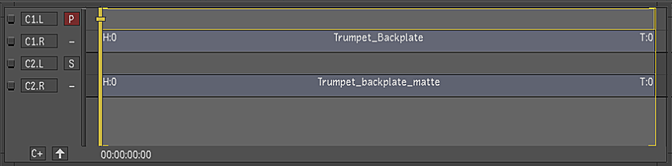
To enter a multi-channel clip:
Double-click the multi-channel timeline segment.
The matte media is located on the Secondary video channel (C2).
To convert a multi-channel clip to a standard source clip:
- Delete all channels from C2 and up.
- Exit the multi-channel clip.