Start by creating a map and attaching the MyDefinition.xml object class definition file and the source drawings.
Note: This exercise uses the
MyDefinition.xml object class definition file you created in
Exercise 1: Create the object class definition file and the source drawings you used in
Lesson 3: Classify Objects.
To create a map that contains the object classes you defined
- In
AutoCAD Map 3D toolset, create a map. Click

 NewDrawing. Select the
map2d.dwt template and click Open.
NewDrawing. Select the
map2d.dwt template and click Open.
- Attach the object definition file by right-clicking Object Classes on the Map Explorer tab of the Task pane and clicking Attach Definition File.
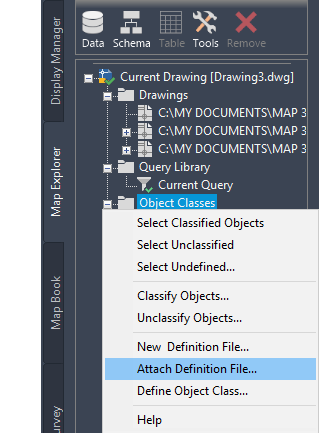
Attach the MyDefinition.xml definition file.
- Select the MyDefinition.xml definition file you created and click Open.
- On the Map Explorer tab in the Task pane, click DataAttach Source Drawings.
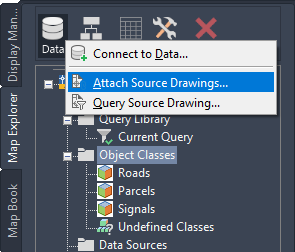
Attach the drawings containing the classified objects.
- Navigate to the folder where you saved the tutorial data. Hold down the Shift key, click the following drawings, and click Add:
- Classify_Signals.dwg
- Classify_Roads.dwg
- Classify_Parcels.dwg
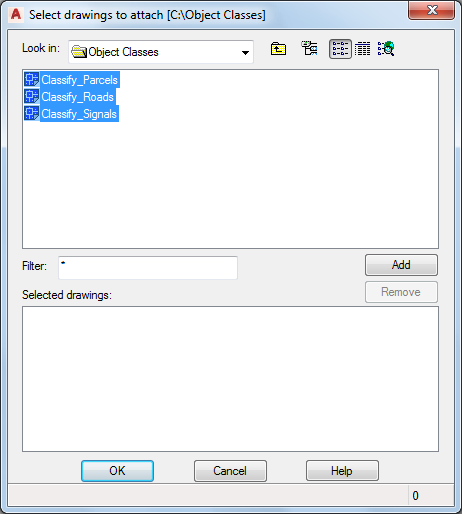
Select all three drawing files.
- Click OK.
Note: You might see an alert as you work through the remainder of the tutorial. The alert warns that the association between queried objects in the current and attached drawings is not retained once the current drawing file is closed. This message reminds you to save back any changes you make to the original drawing file. You can safely ignore the alert.
To continue this tutorial, go to Exercise 2: Assign a coordinate system.