The legend reflects the organizational order in your map. You can move items in Display Manager to change their order in your legend. You can also rename layers, and turn layers off to prevent them from appearing in the legend.
Note: This exercise uses the
build_map1.dwg map you created and modified in the previous exercises.
To edit the legend
- To resize the legend, drag the bottom-right arrow grip.
- Hover over the legend to see its toolbar.
- Click the down arrow on the legend toolbar and click Properties.
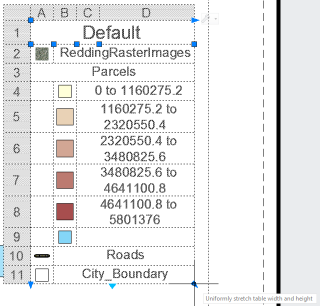
- In the Legend Properties dialog box, turn off the ReddingRasterImages layer.
Click the lightbulb icon next to a layer to remove it from the legend.
- Select the default title and change it to "Redding."
- Change the underscore in "City_Boundary" to a space.
- Click OK to see your changes.
- Save your map.
Where you are now
You inserted a legend, and then edited the displayed layers and the text in the legend.
To continue this tutorial, go to Lesson 7: Publish Your Map.