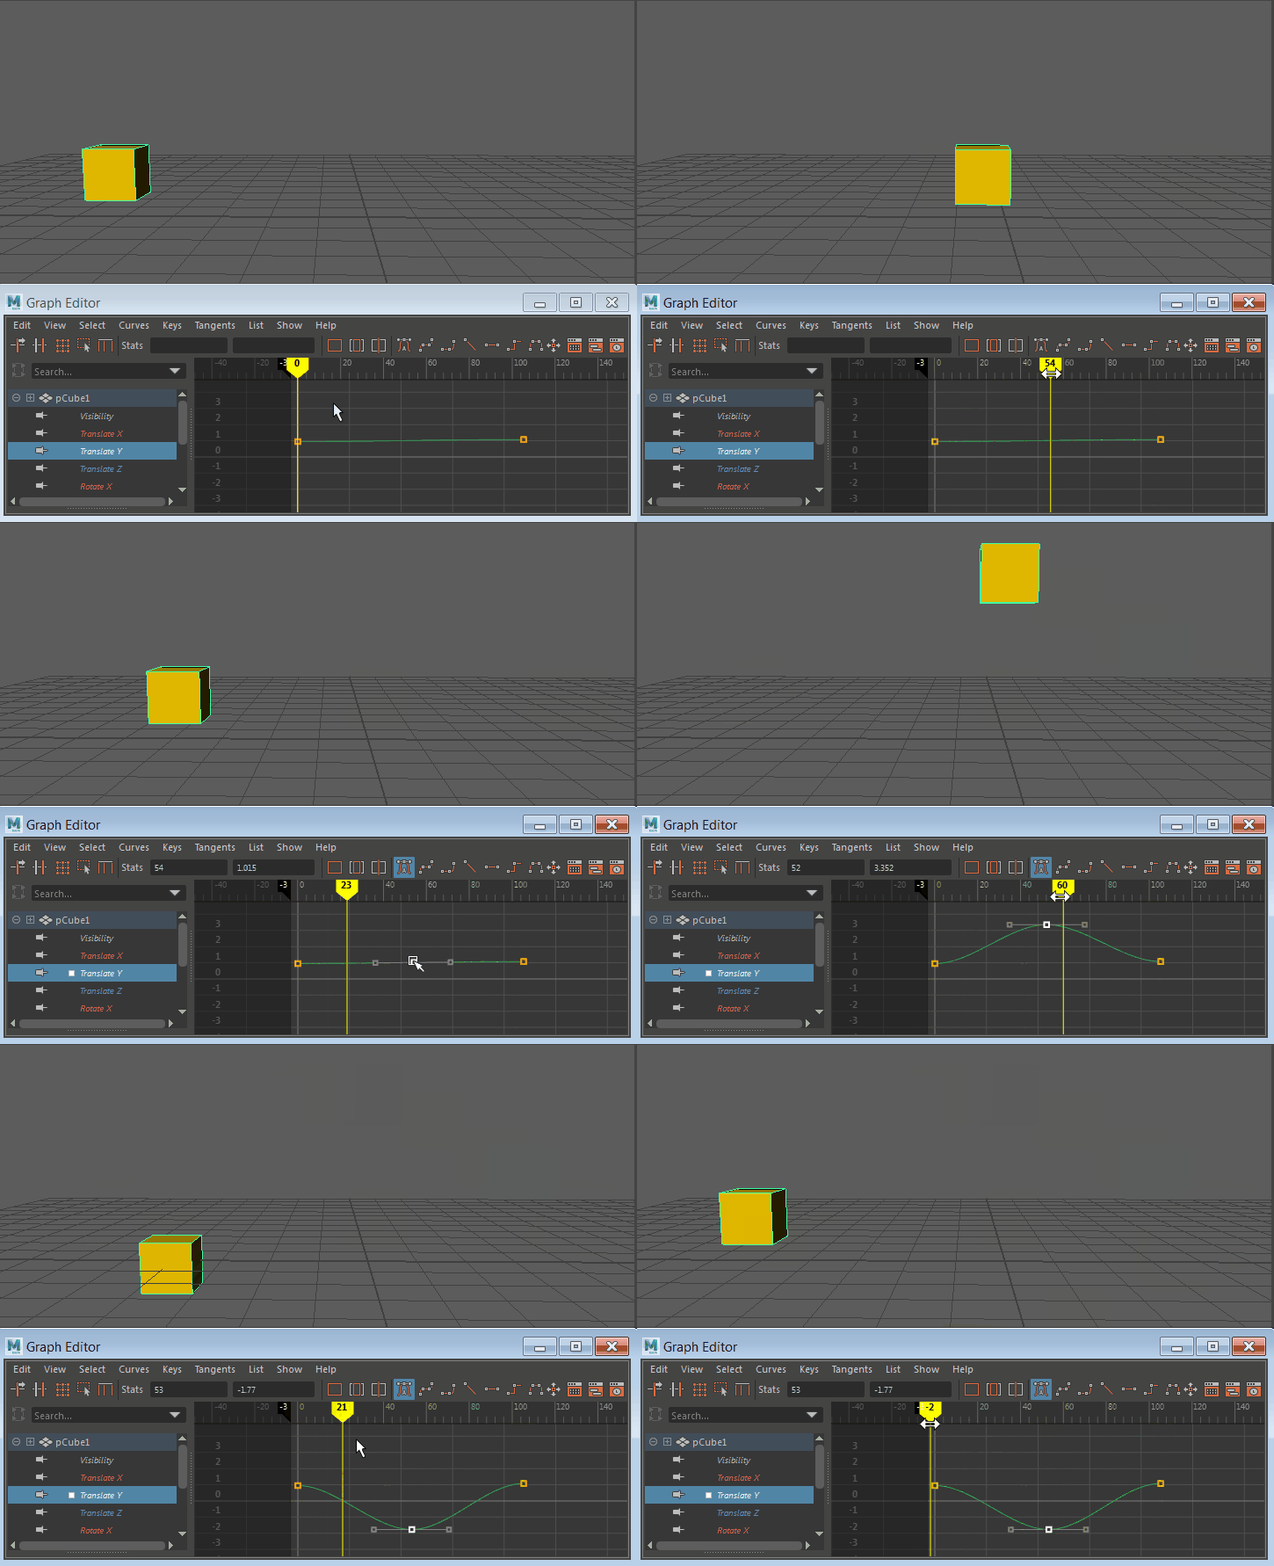
Animation curves
Use the Graph Editor to manipulate animation curves. Animation curves are a way of showing how keys (represented as points) move through time and space. Each key has tangents that let you control how the animation curve segment enters and exit a key.
The Graph Editor is available as a panel in the scene view or as an independent window. To place the Graph Editor in a scene view, select the scene view in which you want the Graph Editor to appear, then select Panels > Panel > Graph Editor. To open the Graph Editor as an independent window, select Windows > Animation Editors > Graph Editor.
The Graph Editor works only with keys and animation curves, so certain types of animation are not viewable here. Expressions and inverse kinematics are not available for editing in the Graph Editor.
Euler angle filtering
When you import motion capture data into Maya as animation curves, the curves might be mangled when the rotation values are restricted to a specific range. You can filter the curves to correct the mangling.
Euler angles calculate the rotation interpolation using three separate vectors: the X, Y, and Z axes.
In the Graph Editor, select the mangled animation curves (for example, Rotate X, Y, and Z), then select Curves > Euler Filter. The filtering is always applied to entire curves, not to selected curve segments within some time range.
Quaternion Rotation
Maya provides smooth quaternion interpolation of animated rotations. Quaternions calculate rotation interpolation using four vectors: the X, Y, and Z axes and an angle of rotation (W). This prevents the gimbal lock and flipping problems that are sometimes encountered with Euler angle interpolation. Maya also supports Euler angle interpolation for cases where you prefer Euler interpolation.
The quaternion curves are synchronized, which means the keyframes on the XYZ curves that determine the rotation stay locked together in time. When you add, delete, or move a keyframe on one curve, the corresponding key is also updated in the related curves. This eliminates unexpected interpolation problems that can occur when keyframes are deleted from only one of the axes, or vertices are moved independently in time.
Maya also has an option for creating Synchronized Euler-Angle Curves. In this mode, the keyframes are locked together in Quaternion but the interpolation between keyframes is in Euler angles.
You can change the rotation interpolation type of existing curves using the Curves > Change Rotation Interp menu in the Graph Editor and Dope Sheet. See Set rotation interpolation for curves.
Regardless of whether the rotation is Quaternion or Euler angles, the Channel Box displays Euler angle values.
Set IK/FK Key curves in the Graph Editor
When you use Set IK/FK Key to animate between IK and FK (and vice versa), the Graph Editor displays the animation curves of the IK handle and its joints partly as solid lines and partly as dotted lines.
For example, when you display an animation curve for the IK handle’s Translate X, Y, or Z channels, the curve is displayed as a solid line when Ik Blend is 1.000 and as a dotted line when Ik Blend is 0.000. In other words, the solid line shows where the IK handle controls the joint chain’s animation and the dotted line shows where FK (keyed joint rotations) controls the animation.

For more information on the Ik Blend attribute or Set IK/FK Key, see IK/FK blending and Set IK/FK Key on the IK/FK Keys menu.