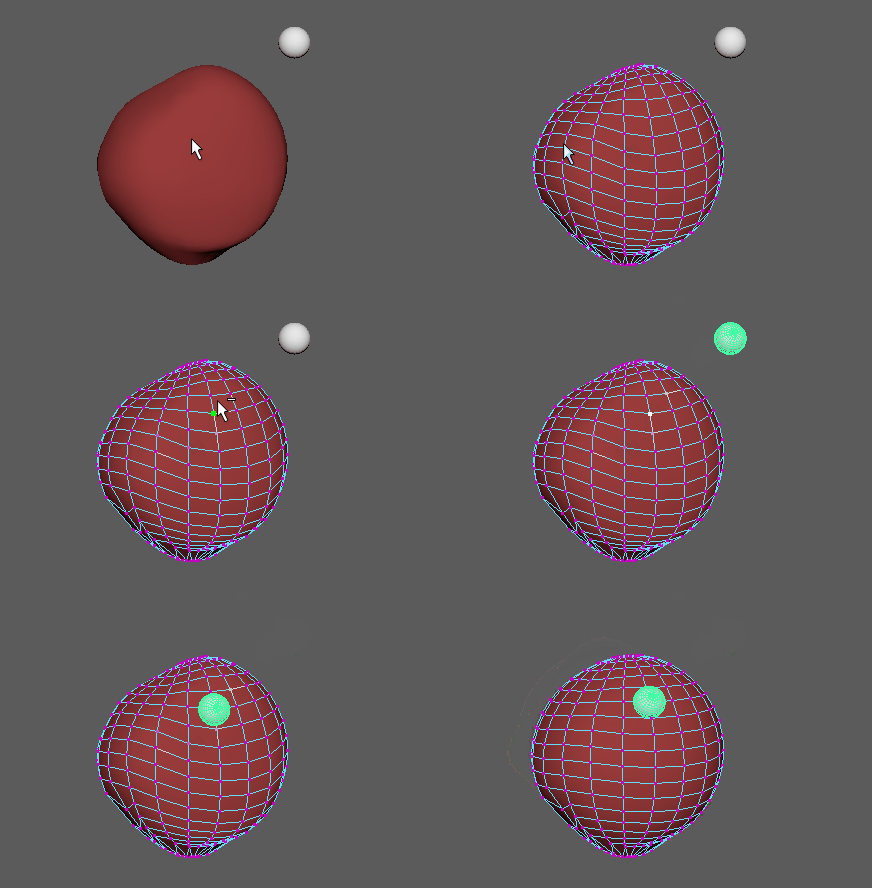
To create a Point on Poly constraint
- Select a target mesh, or switch to Component mode to select a specific vertex, edge, or face where you want to constrain the other object.
- Shift-select the object you want to constrain to the mesh.
Tip:
To ensure the object is constrained in the position and orientation you expect, make any necessary adjustments to its pivot point before you constraint it to the mesh. (See Change the pivot point in the Basics guide.)
- From the main menu bar, do one of the following:
- Select Constrain > Point on Poly to create the constraint with default options.
- Select
Constrain > Point on Poly >
 to set
Point on Poly constraint options before creating the constraint, and continue with the following steps.
- Do any of the following in the
Point on Poly Constraint Options:
- To add the Point on Poly constraint to an animation layer, select the layer you want in the Animation Layer drop-down menu.
- Click Add or Apply to create the Point on Poly constraint.
- Select Edit > Save Settings to save the constraint options you set.
- Select Edit > Reset Settings to reset to the default constraint options.
If you selected an entire mesh as the target, the constrained object moves to the origin when you create the constraint. You can then adjust its position relative to the target mesh by editing the U and V parameters in the constraint attributes. See Edit point on poly constraint attributes.
If you selected a specific vertex, face, or edge as the target, the constrained object is placed at the precise UV co-ordinates of that point when you create the constraint.