Rigid skinning provides articulated deformation effects by enabling joints to influence sets of deformable object points. To see an example, click Example: Skinning a cylinder by rigid skinning.
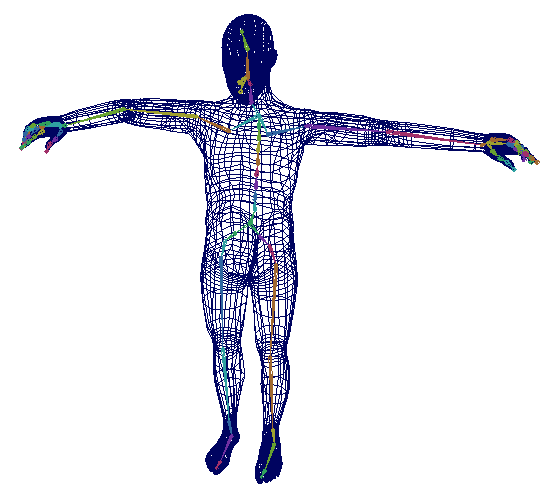
With rigid skinning, only one joint can influence each CV, vertex, or lattice point. This provides rigid deformation effects that you can smooth by using lattice deformers, cluster deformers, or flexors. 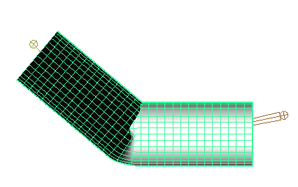
Note: Rigid Bind menu options have been removed from Maya to streamline other workflows. Rigid Bind functionality is still present using scripting commands. You can also obtain a Rigid bind using smooth skin with 1 influence per vertex.
Note: Rigid Bind menu options have been removed from the Maya User Interface to streamline workflows. Rigid Bind functionality is still present using these scripting commands:
| Menu Item | Command |
|---|---|
| Skin > Rigid Bind | RigidBindSkin |
| Skin > Rigid Bind > Opts | RigidBindSkinOptions |
| Skin > Edit Rigid Bind > Create Flexor … | CreateFlexorWindow |
| Skin > Edit Rigid Bind > Copy Flexor | CopyFlexor |
| Skin > Edit Rigid Bind > Reassign Bone Lattice Joint | ReassignBoneLatticeJoint |
| Skin > Edit Rigid Bind > Preserve Skin Groups > Detach Skeleton | DetachSkeleton |
| Skin > Edit Rigid Bind > Preserve Skin Groups > Detach Selected Joints | DetachSkeletonJoints |
| Skin > Edit Rigid Bind > Preserve Skin Groups > Reattach Skeleton | ReattachSkeleton |
| Skin > Edit Rigid Bind > Preserve Skin Groups > Reattach Selected Joints | ReattachSkeletonJoints |
Note: You can also obtain a Rigid bind using smooth skin with 1 influence per vertex.